As we saw in the article on aperture , it is possible to play with the depth of field to sharpen only your object foreground and blur your background.
You can of course obtain this effect directly during the shooting but if the desired effect is not achieved, or if you did not foresee this effect at the origin of your photo, you will be able to correct this with image editing.
We will see how to reproduce this background blur effect, or bokkeh effect, with the Gimp software.
Step 1: Import a photo into Gimp
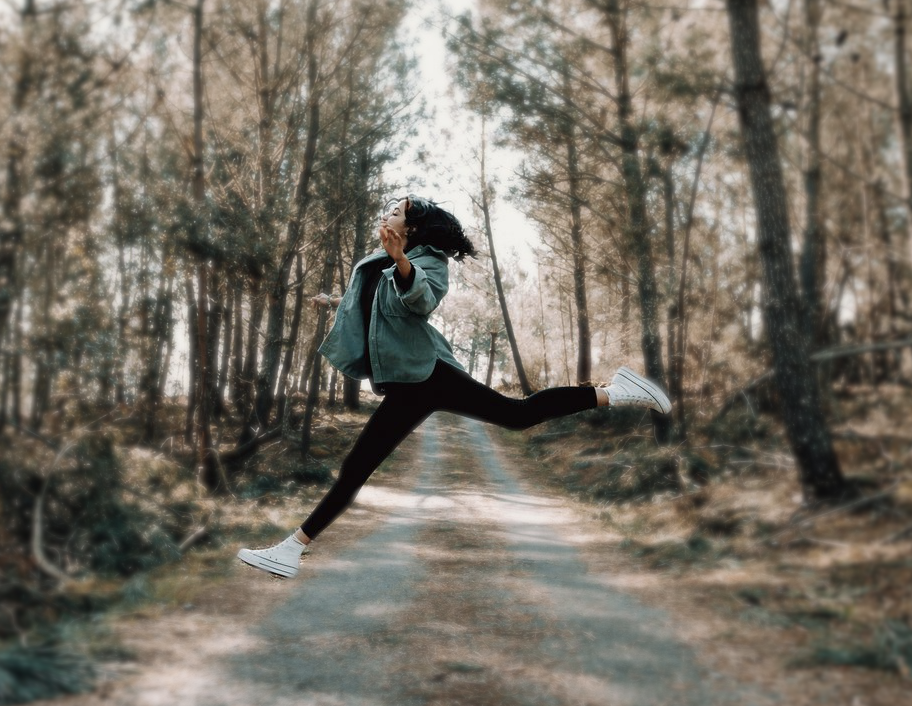
Obviously always the same thing, you have to import your photo into Gimp. For this exercise we have chosen as a basis a photo of Avelino Calvar Martinez, available on Burst .
Our job will be to modify the background to make it a little more blurry so that the main subject stands out better.
Step 2: Duplicate the existing layer and create a mask
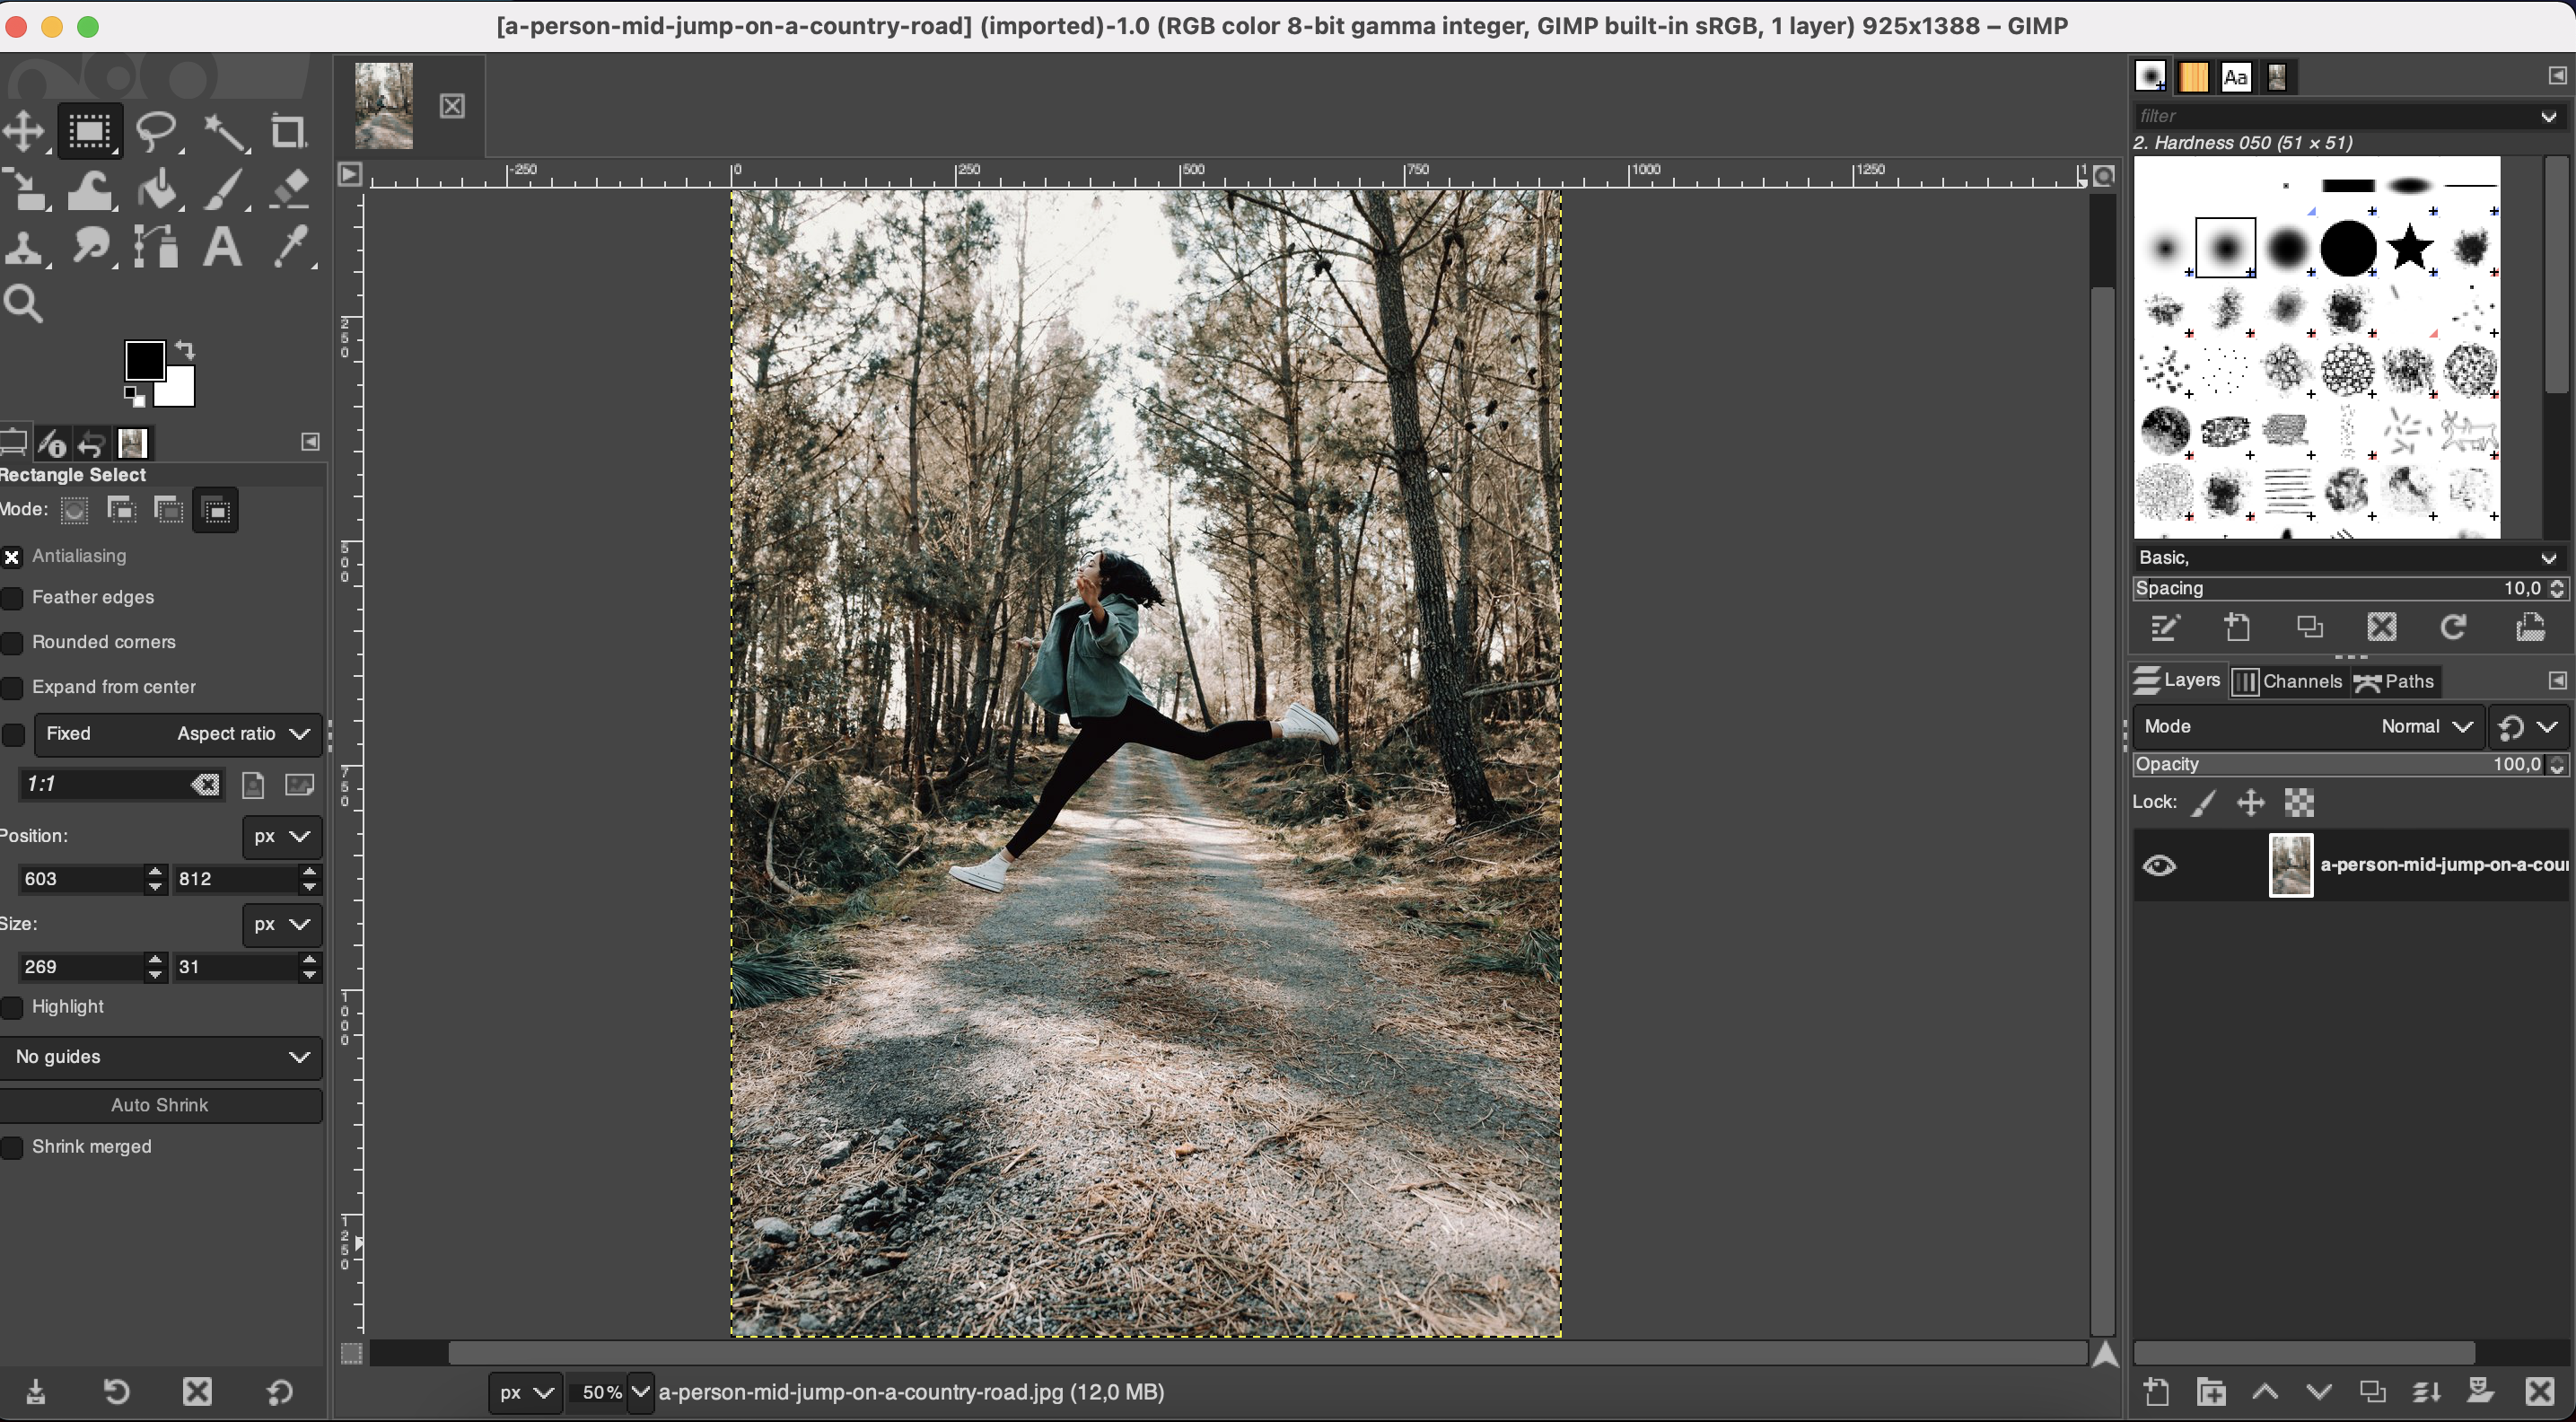
On the only existing layer, right click then click on Duplicate layer.

Rename the layer to differentiate it later. You can put Duplicate for example. Make sure it’s at the top of the list so it’s in the foreground.
The idea here is to have a layer with your image completely sharp in the foreground and a “blurry” layer in the background. All the work will consist in intelligently merging these 2 layers in order to obtain the desired rendering.
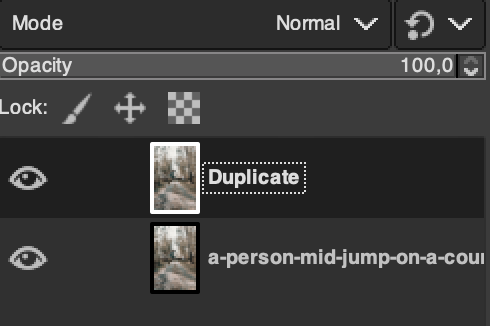
We will now add a mask to the duplicated layer. It is by editing this mask that we will correctly configure this fusion. Select the duplicated layer then click on the menu Layer > Mask > Add Layer Mask … :
Select White (full opacity) then click Add:
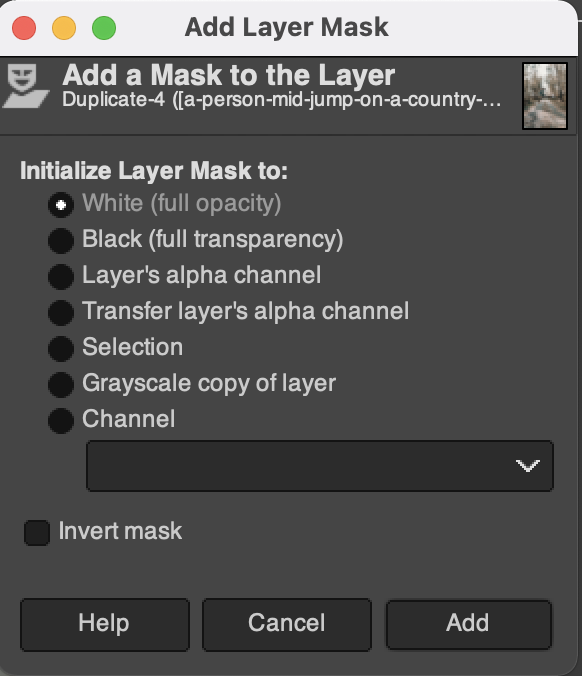
A white rectangle now appears next to your “Duplicate” layer. The previous configuration thus makes it possible to display the “Duplicate” layer if the color of the mask is white, the background layer if the color of the mask is black and a fade out if we are using gray levels.
Step 3: Define the focus area
The preparation part is over, but we still have no difference. This is normal, our mask is set to show only the foreground layer. We will therefore edit it to configure the fade between the 2 layers that we have.
Start by clicking on the white rectangle corresponding to the mask because we are going to edit it.
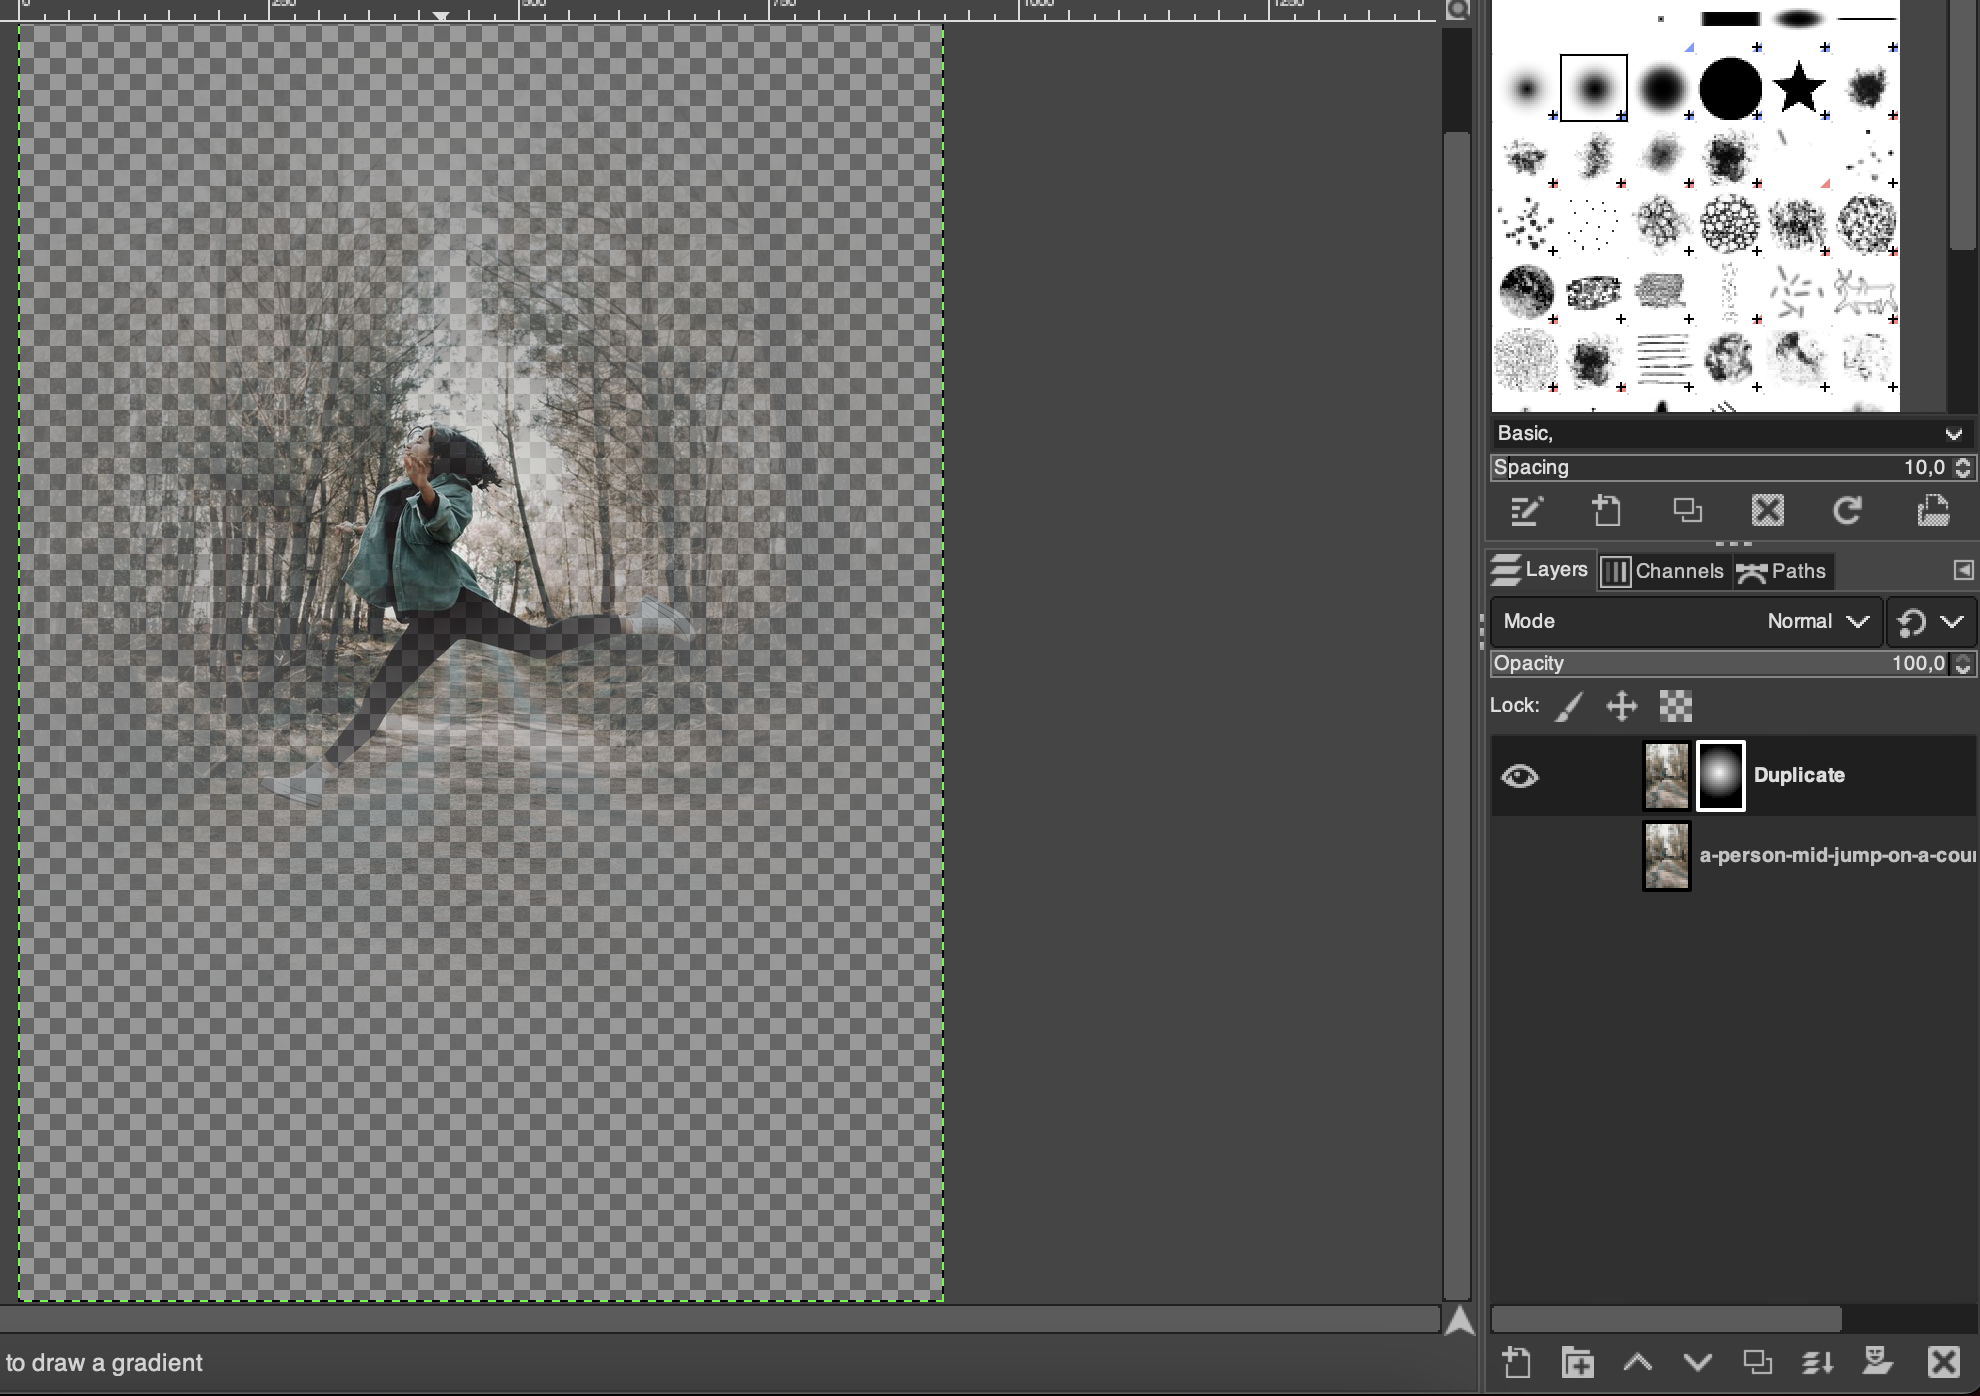
In the case of this image, the subject is in the center of the image. We therefore chose to do a radial fade between the layers. To do this, select the gradient tools in the editing tools (or use the shortcut G) then select a gradient from white to black and a radial shape:

To see what you are doing, we advise you to display only the rendering of the “Duplicate” layer by disabling the display of the other layer by clicking on the associated eye.
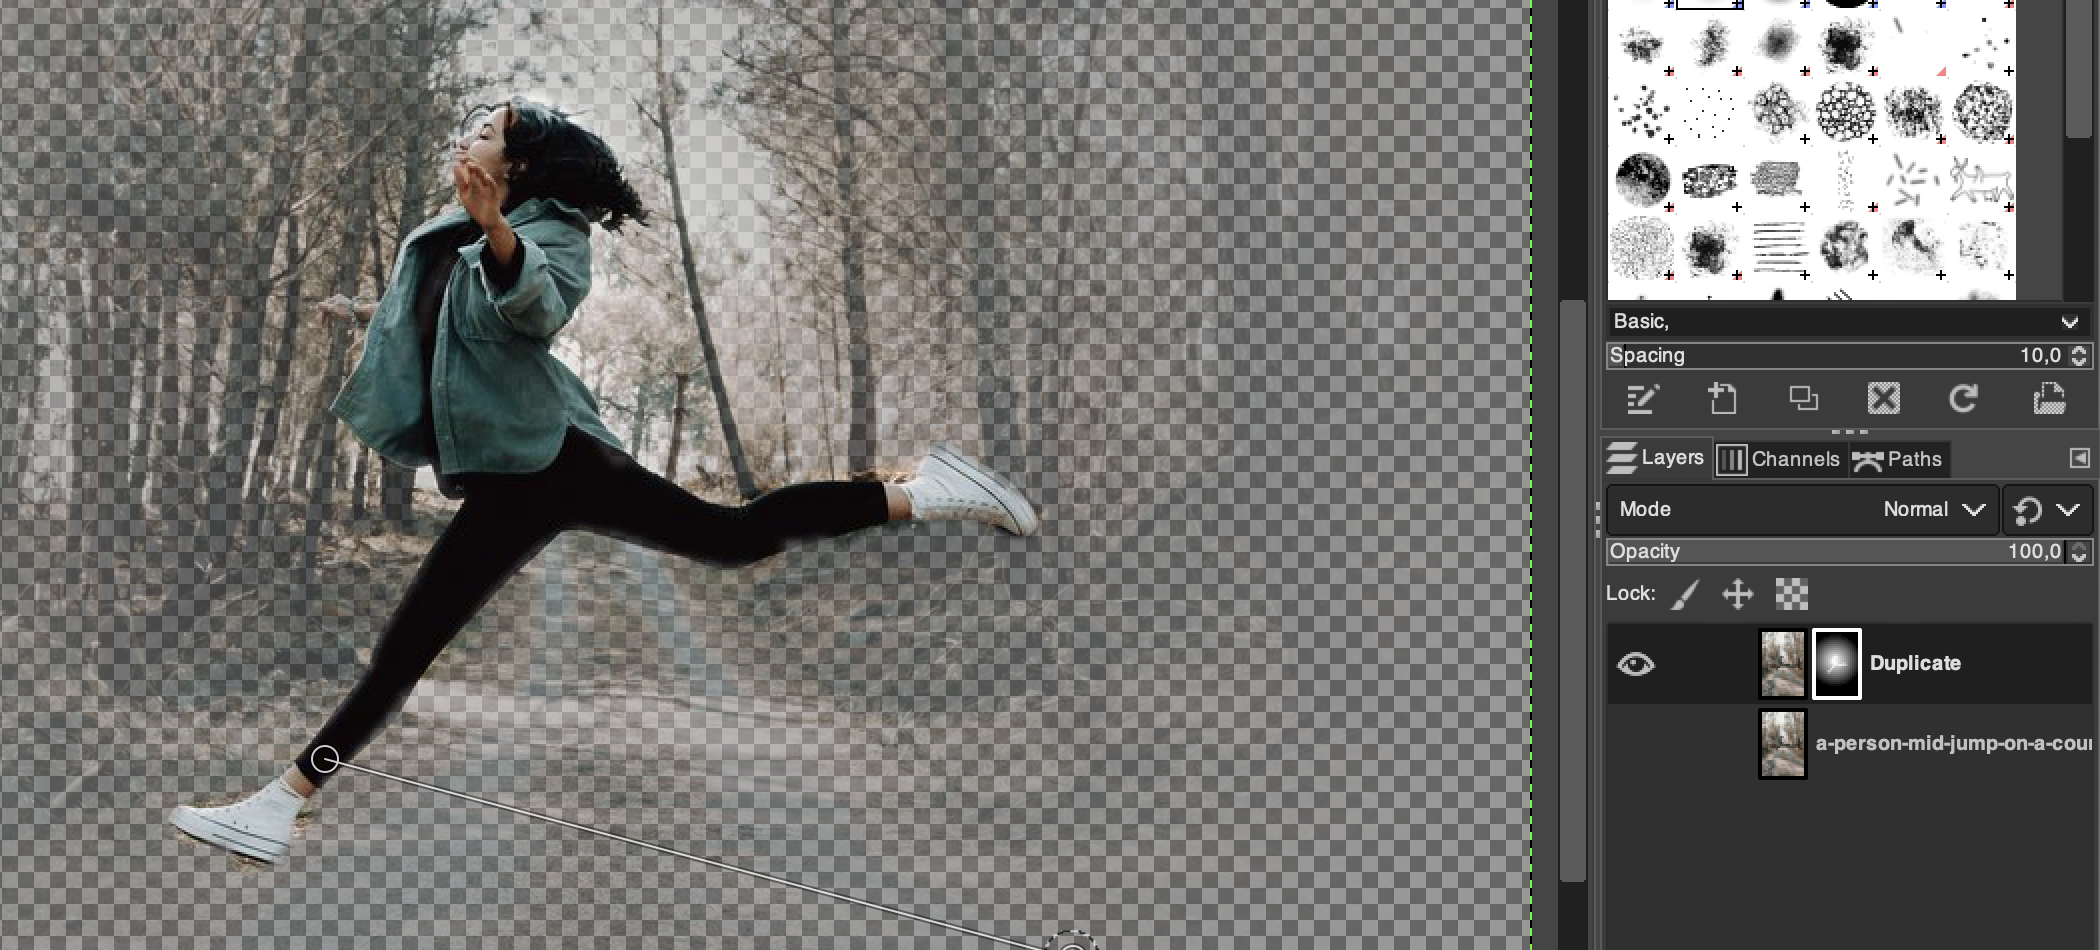
Then apply your radial gradient. You can repeat it several times to properly center your gradient on your subject and ensure that what you want to sharpen is in this gradient.
Your goal here is to make your subject look neat. Gradient is useful for blending, but you need to make an extra pass to “paint” your subject. Always keep the selection of the element being modified on the mask then select a brush (the size will depend on your subject, here we chose 27). Keep the color white for editing then “paint” your subject using this brush. The idea is to make it totally neat:
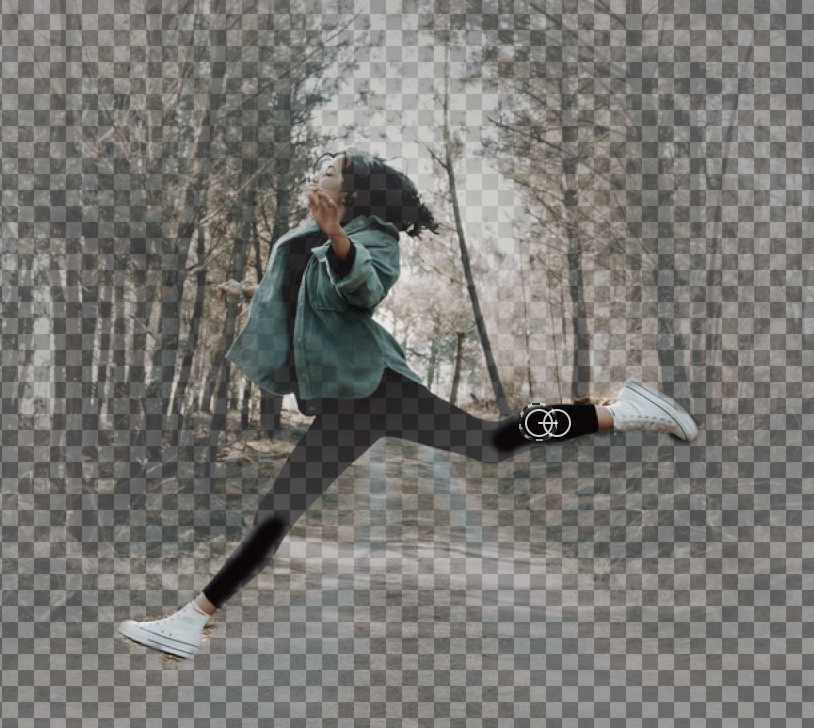
When done, you should end up with something similar to the following image (extreme precision is not required here):
Step 4: Add background blur
We have just defined what we want to keep in focus on the image, namely the subject as a whole and what surrounds it but in a degraded way. Now we need to add some blur on the background.
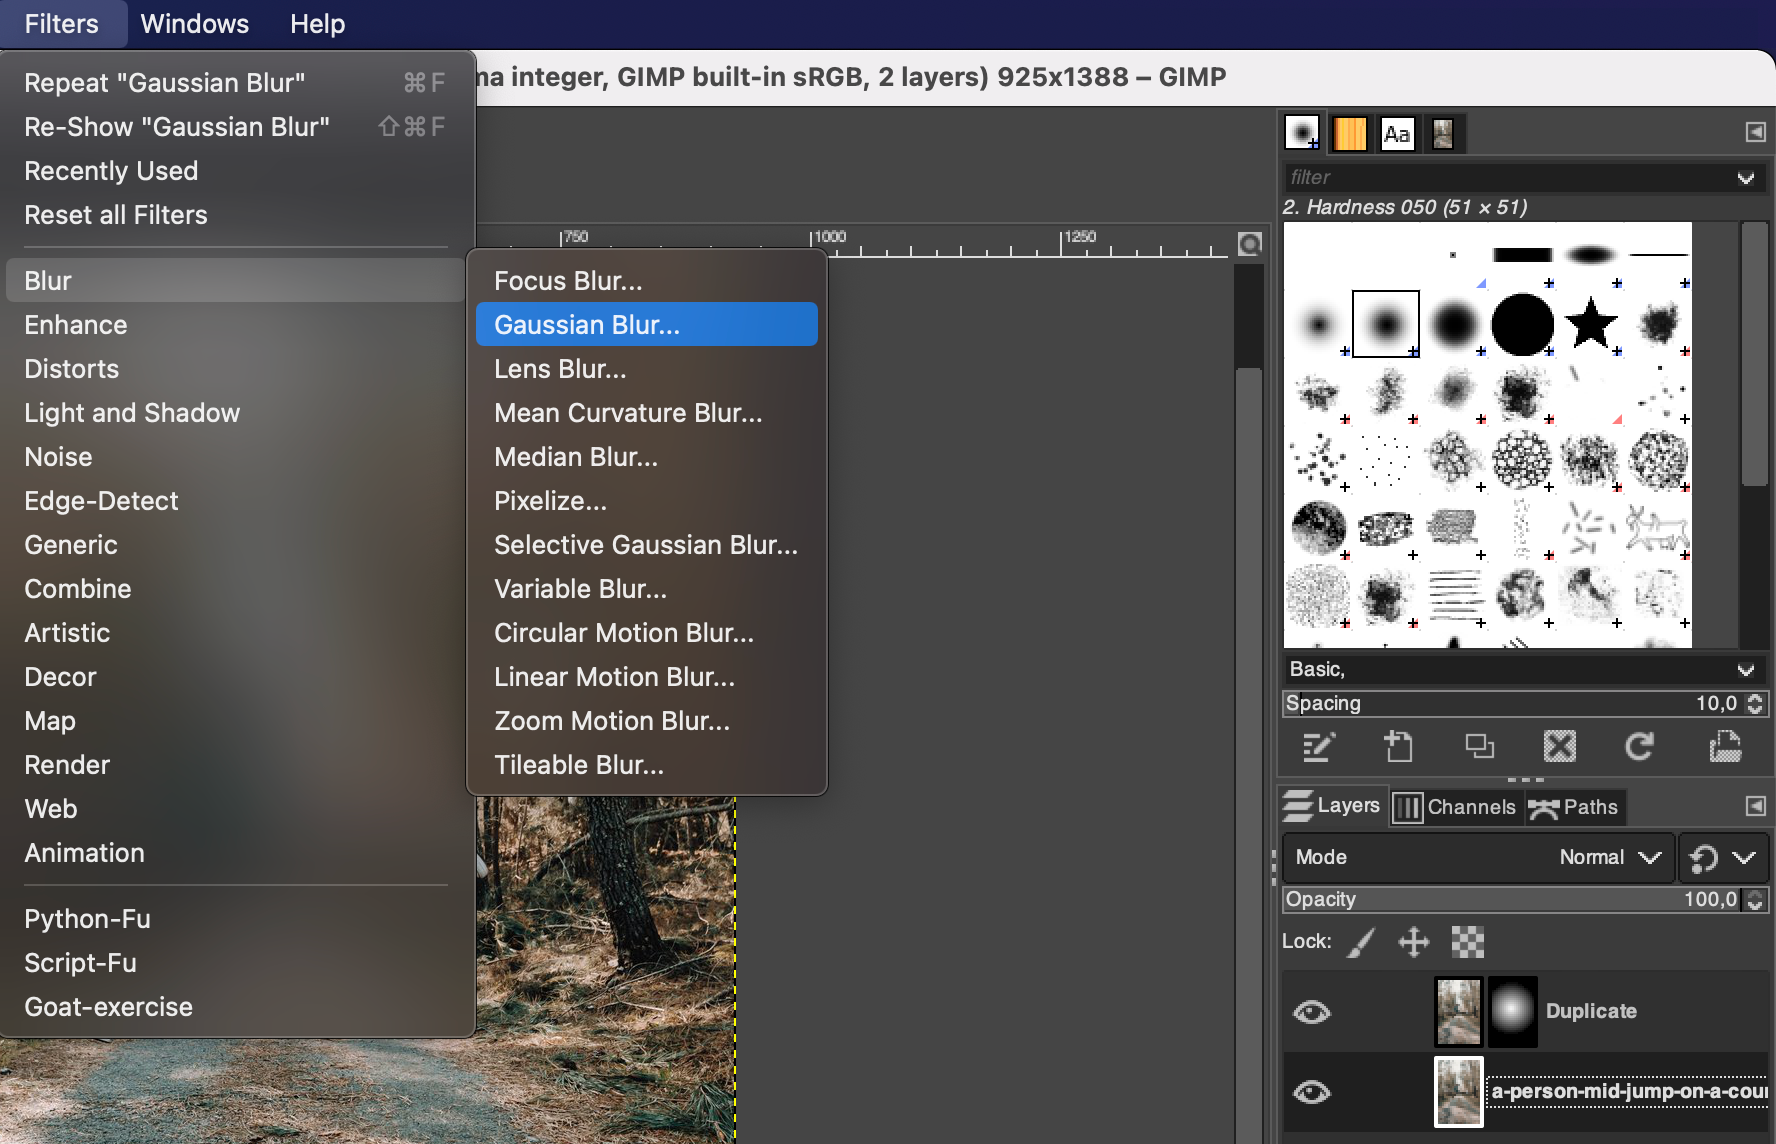
Click on the background layer then select the menu Filters > Blur > Gaussian Blur …:
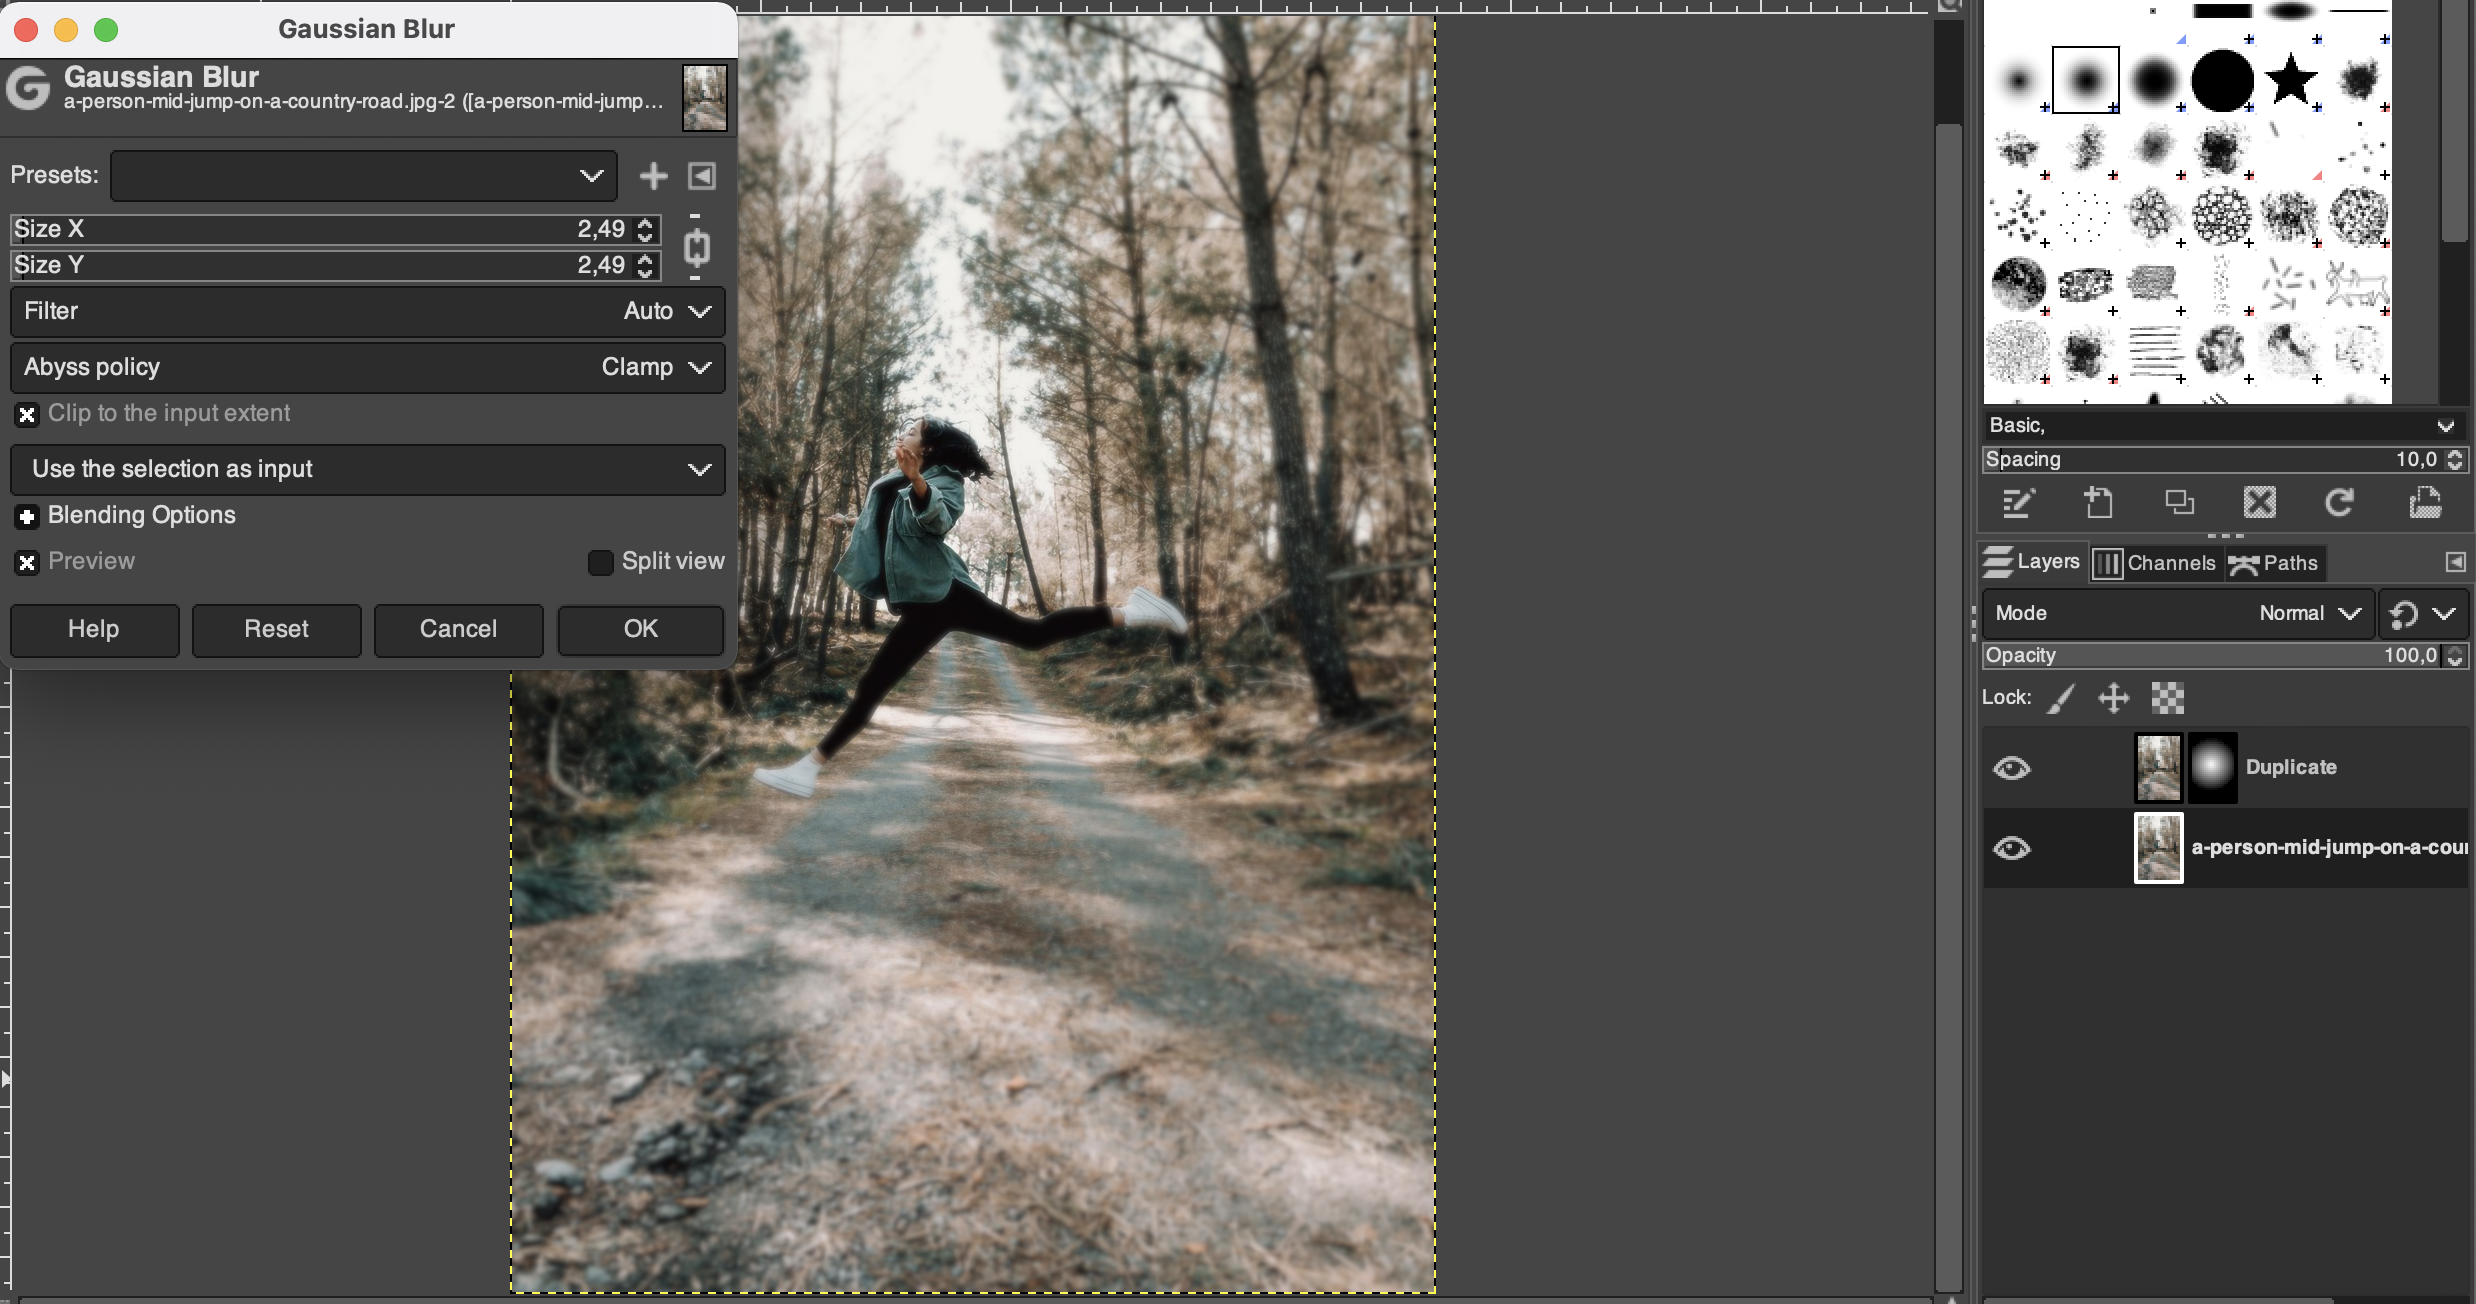
Edit the blur configuration values to get the rendering you want:
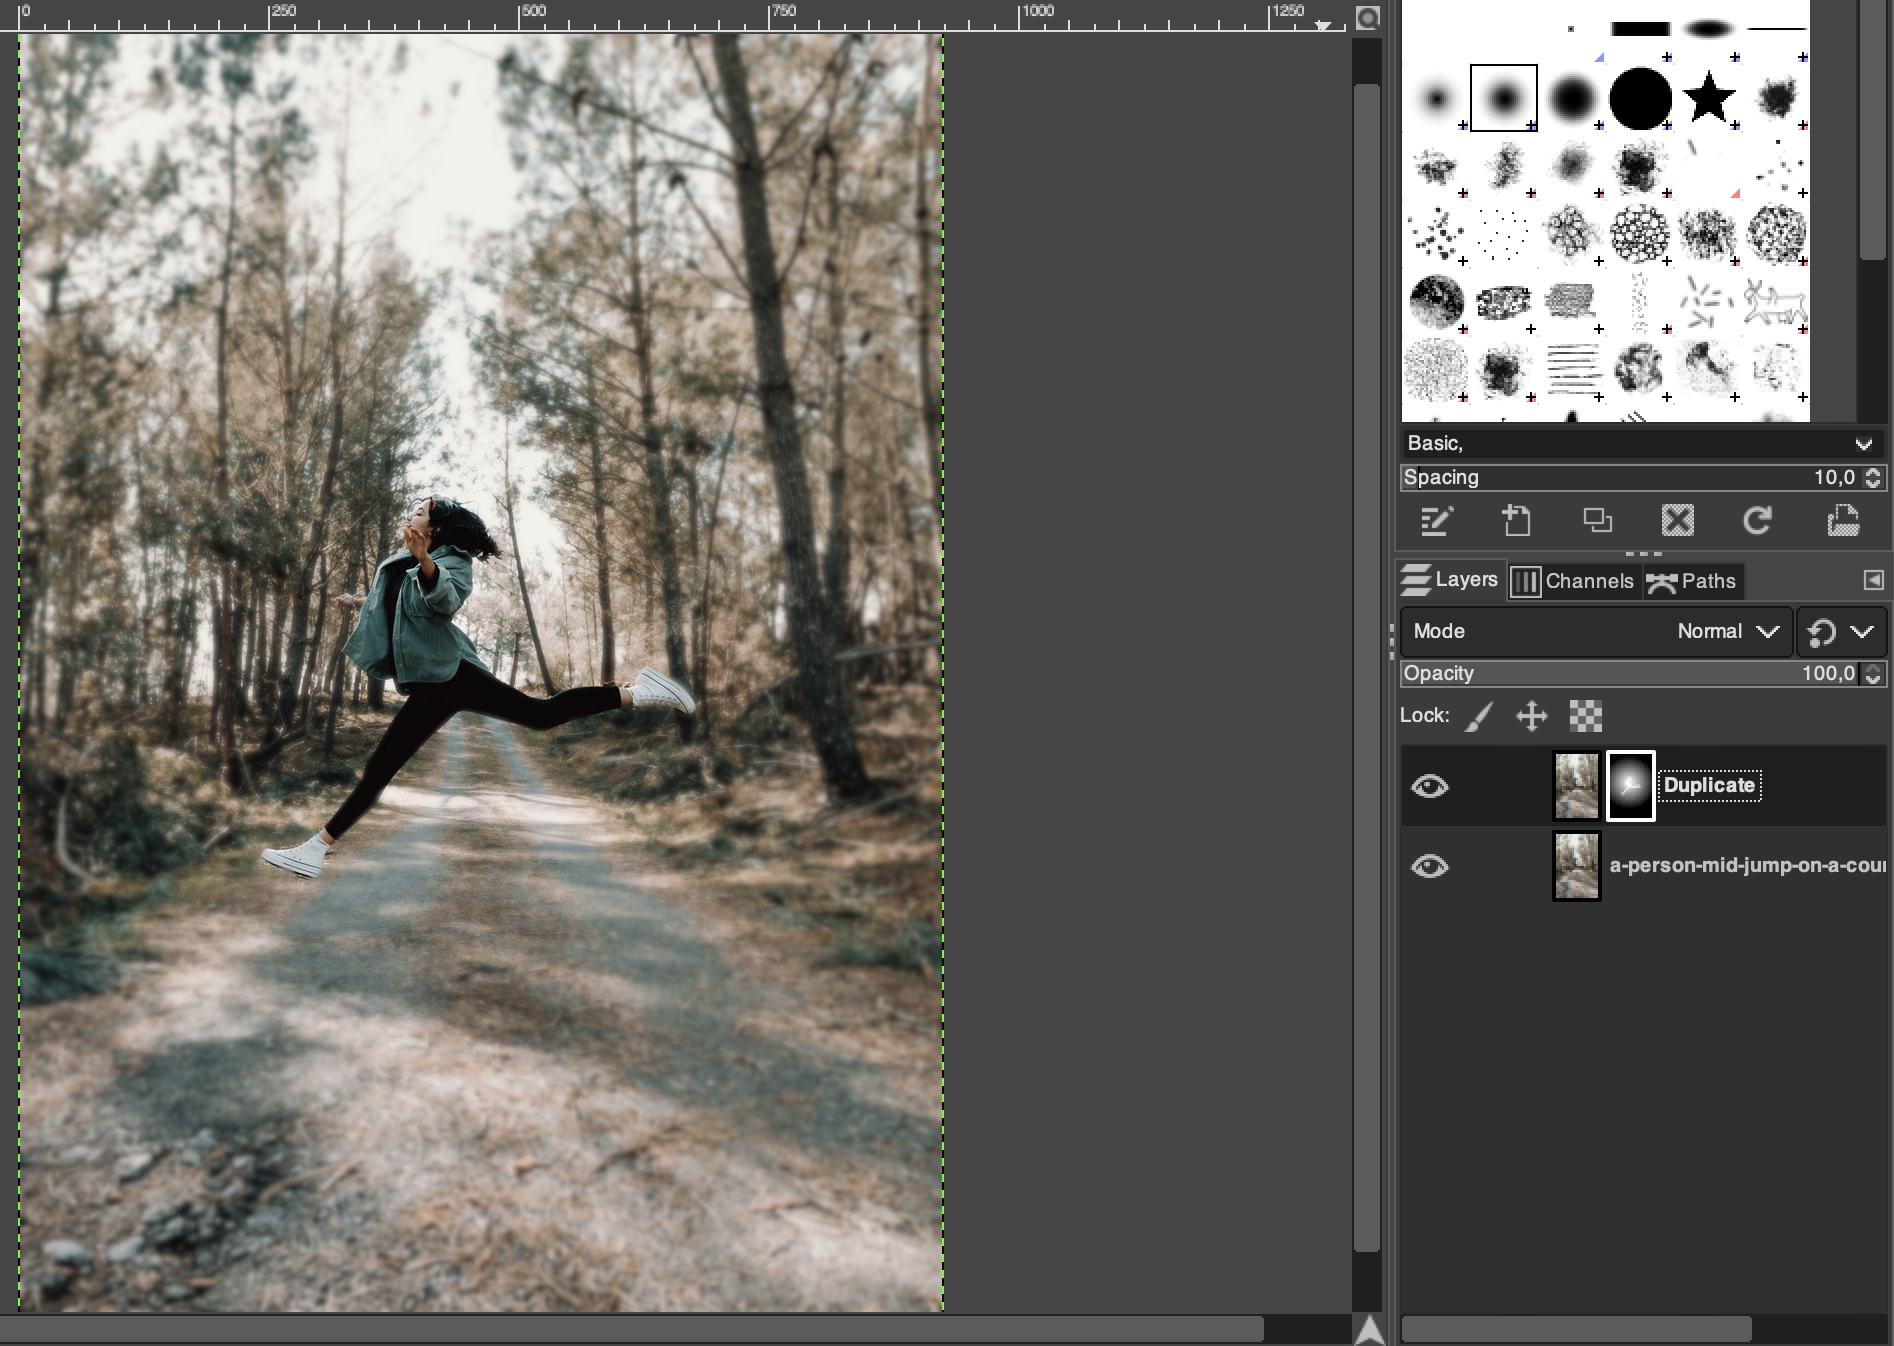
Then click OK and voila!
Obviously, you can play with the configurations of the different values or have different artistic approaches. For this article, we only present the technique on an example but feel free to combine it with others. Your creativity is your limit!