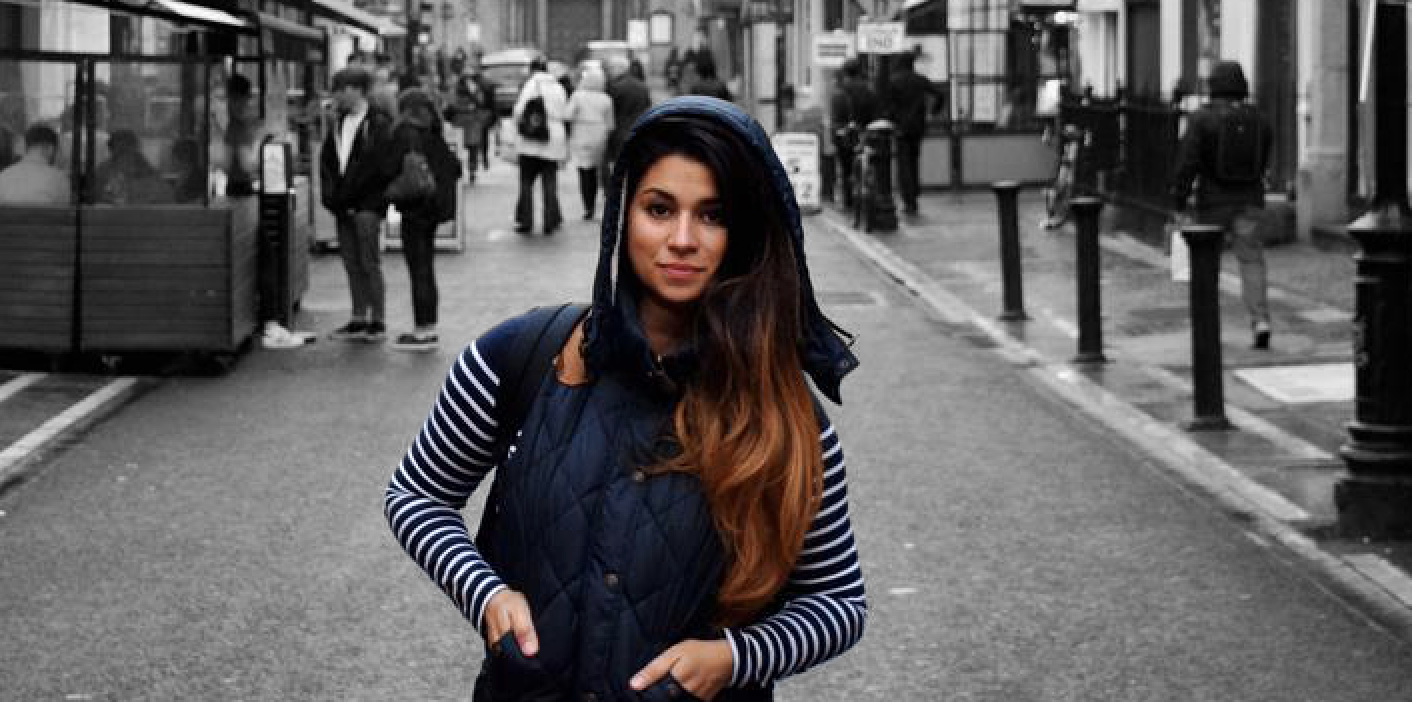
We are going to see how to reproduce a fairly simple effect but with a really interesting rendering. It is a question of converting the whole of a photo from black to white except a certain area which we will keep in color.
This image editing only takes a few minutes and we will see how to do it with Gimp, a powerful but completely free image editing tool.
Step 1: Take a photo or choose an existing one
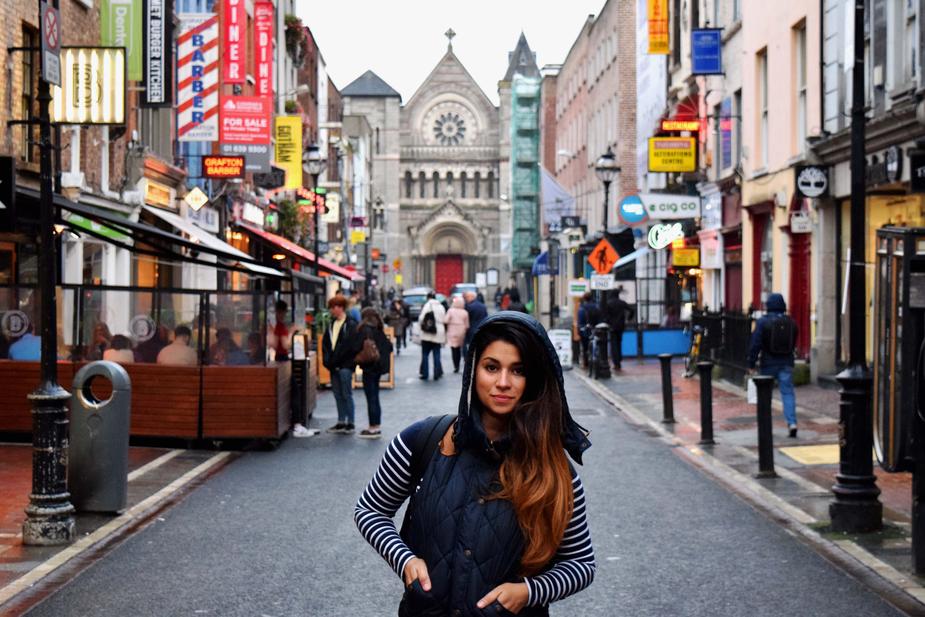
The first step is of course to use an existing photo or take a new one for the occasion. In this specific case, it is preferable that the subject you want to highlight is not too prominent in the photo, but not too small either. This is to guarantee a certain effect of contrast between the background which will be in black and white and your subject (or part of your subject which will be in color).
For this exercise, we’ll be using a royalty-free photo by Fernanda Publio, available at Burst
Our job will consist of modifying the background to turn it into black and white and keeping only the main subject in color.
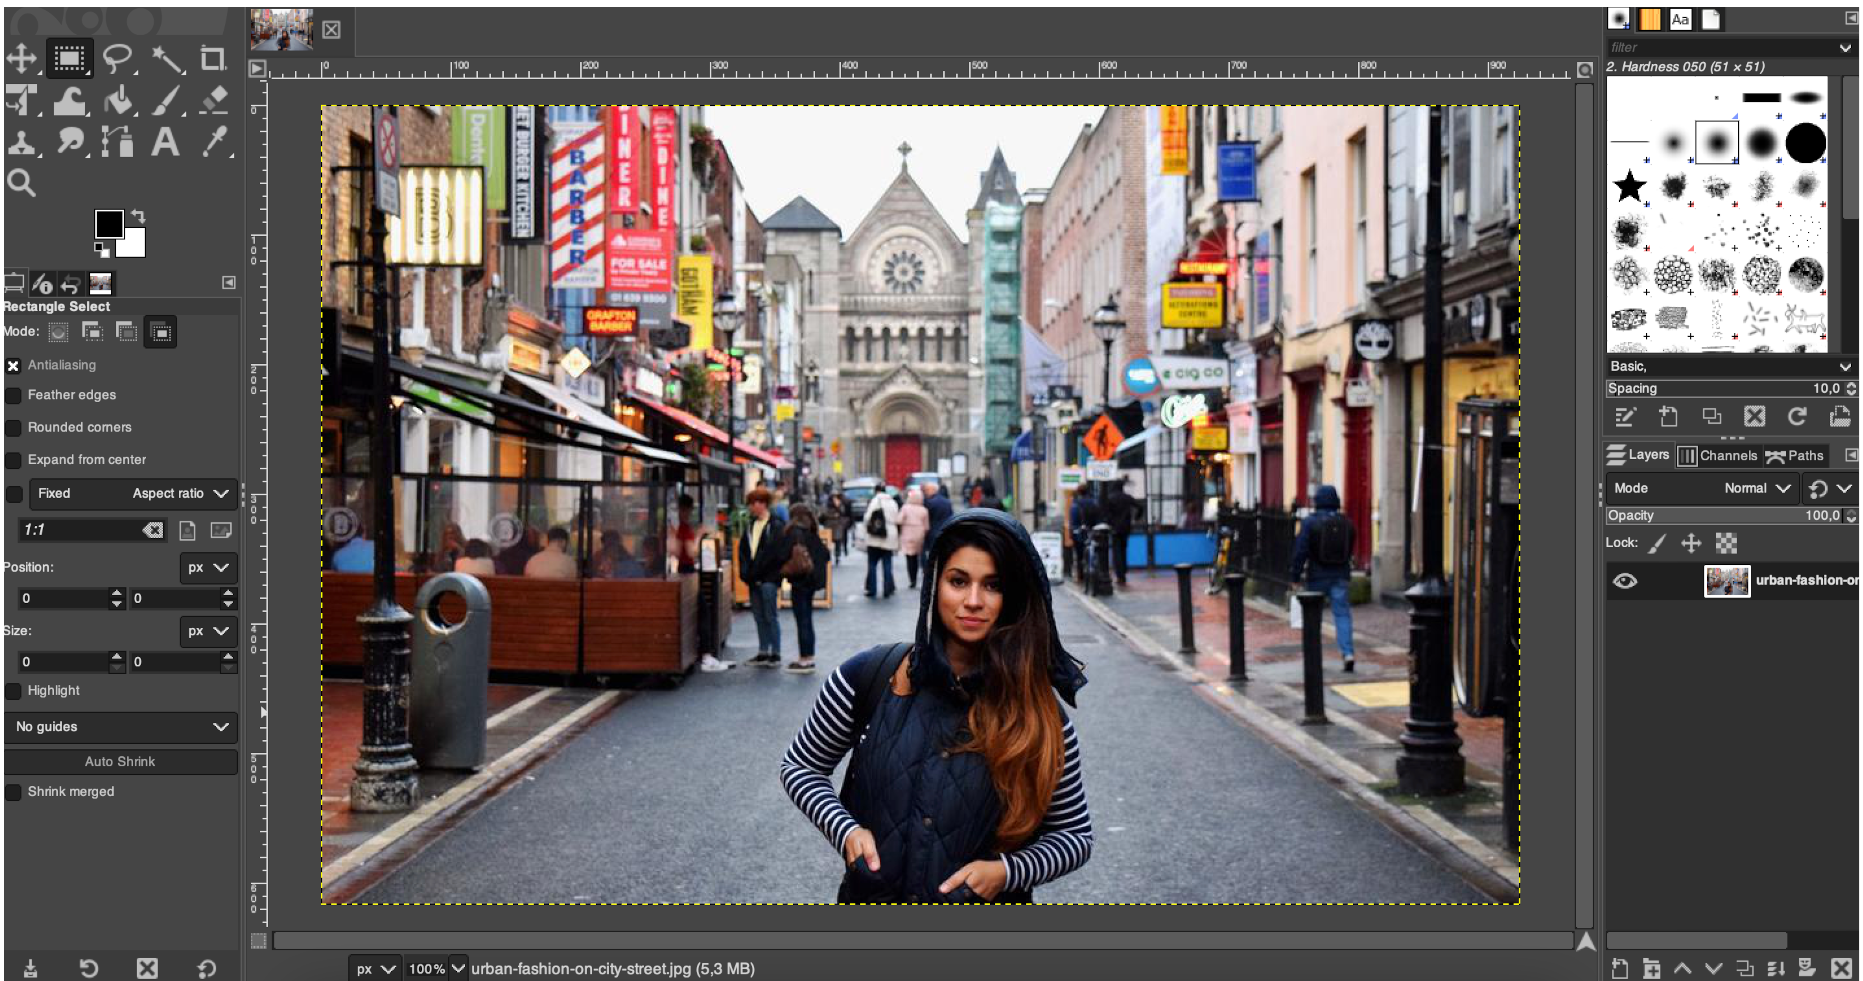
Step 2: Import the image into Gimp
This step is simple, you can simply drag and drop your image into Gimp or open it from the software. We are not going to dwell on this step ;)
Step 3: Duplicate the image layer
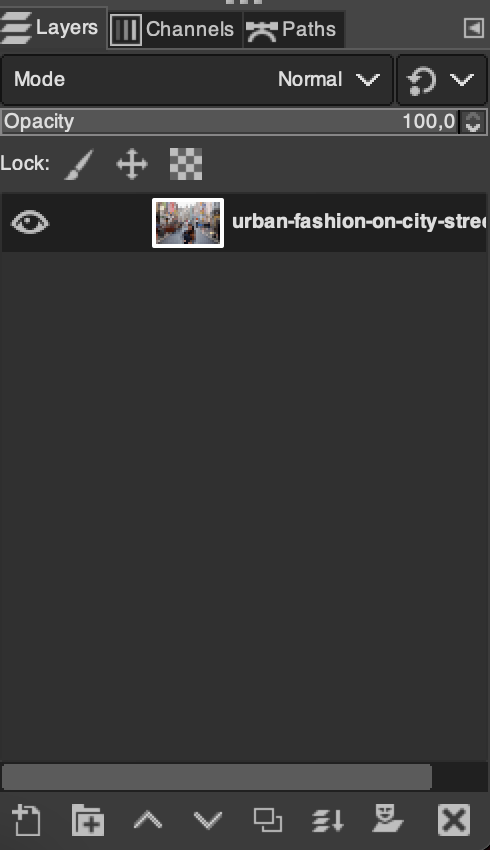
In the lower right corner of the software, click on the only available Layer by right clicking on it:
Then click on Duplicate layer :

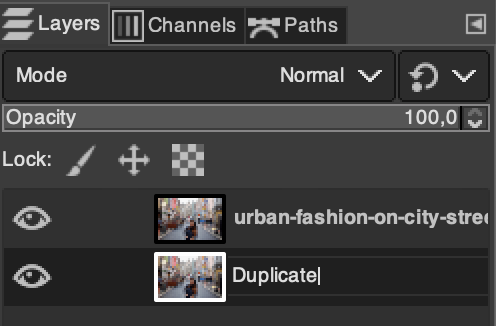
You will now have 2 layers as in the image below. Rename the second layer so that you don’t get tangled up in the brushes by double clicking on its name:
Step 4: Convert a layer to Black and White
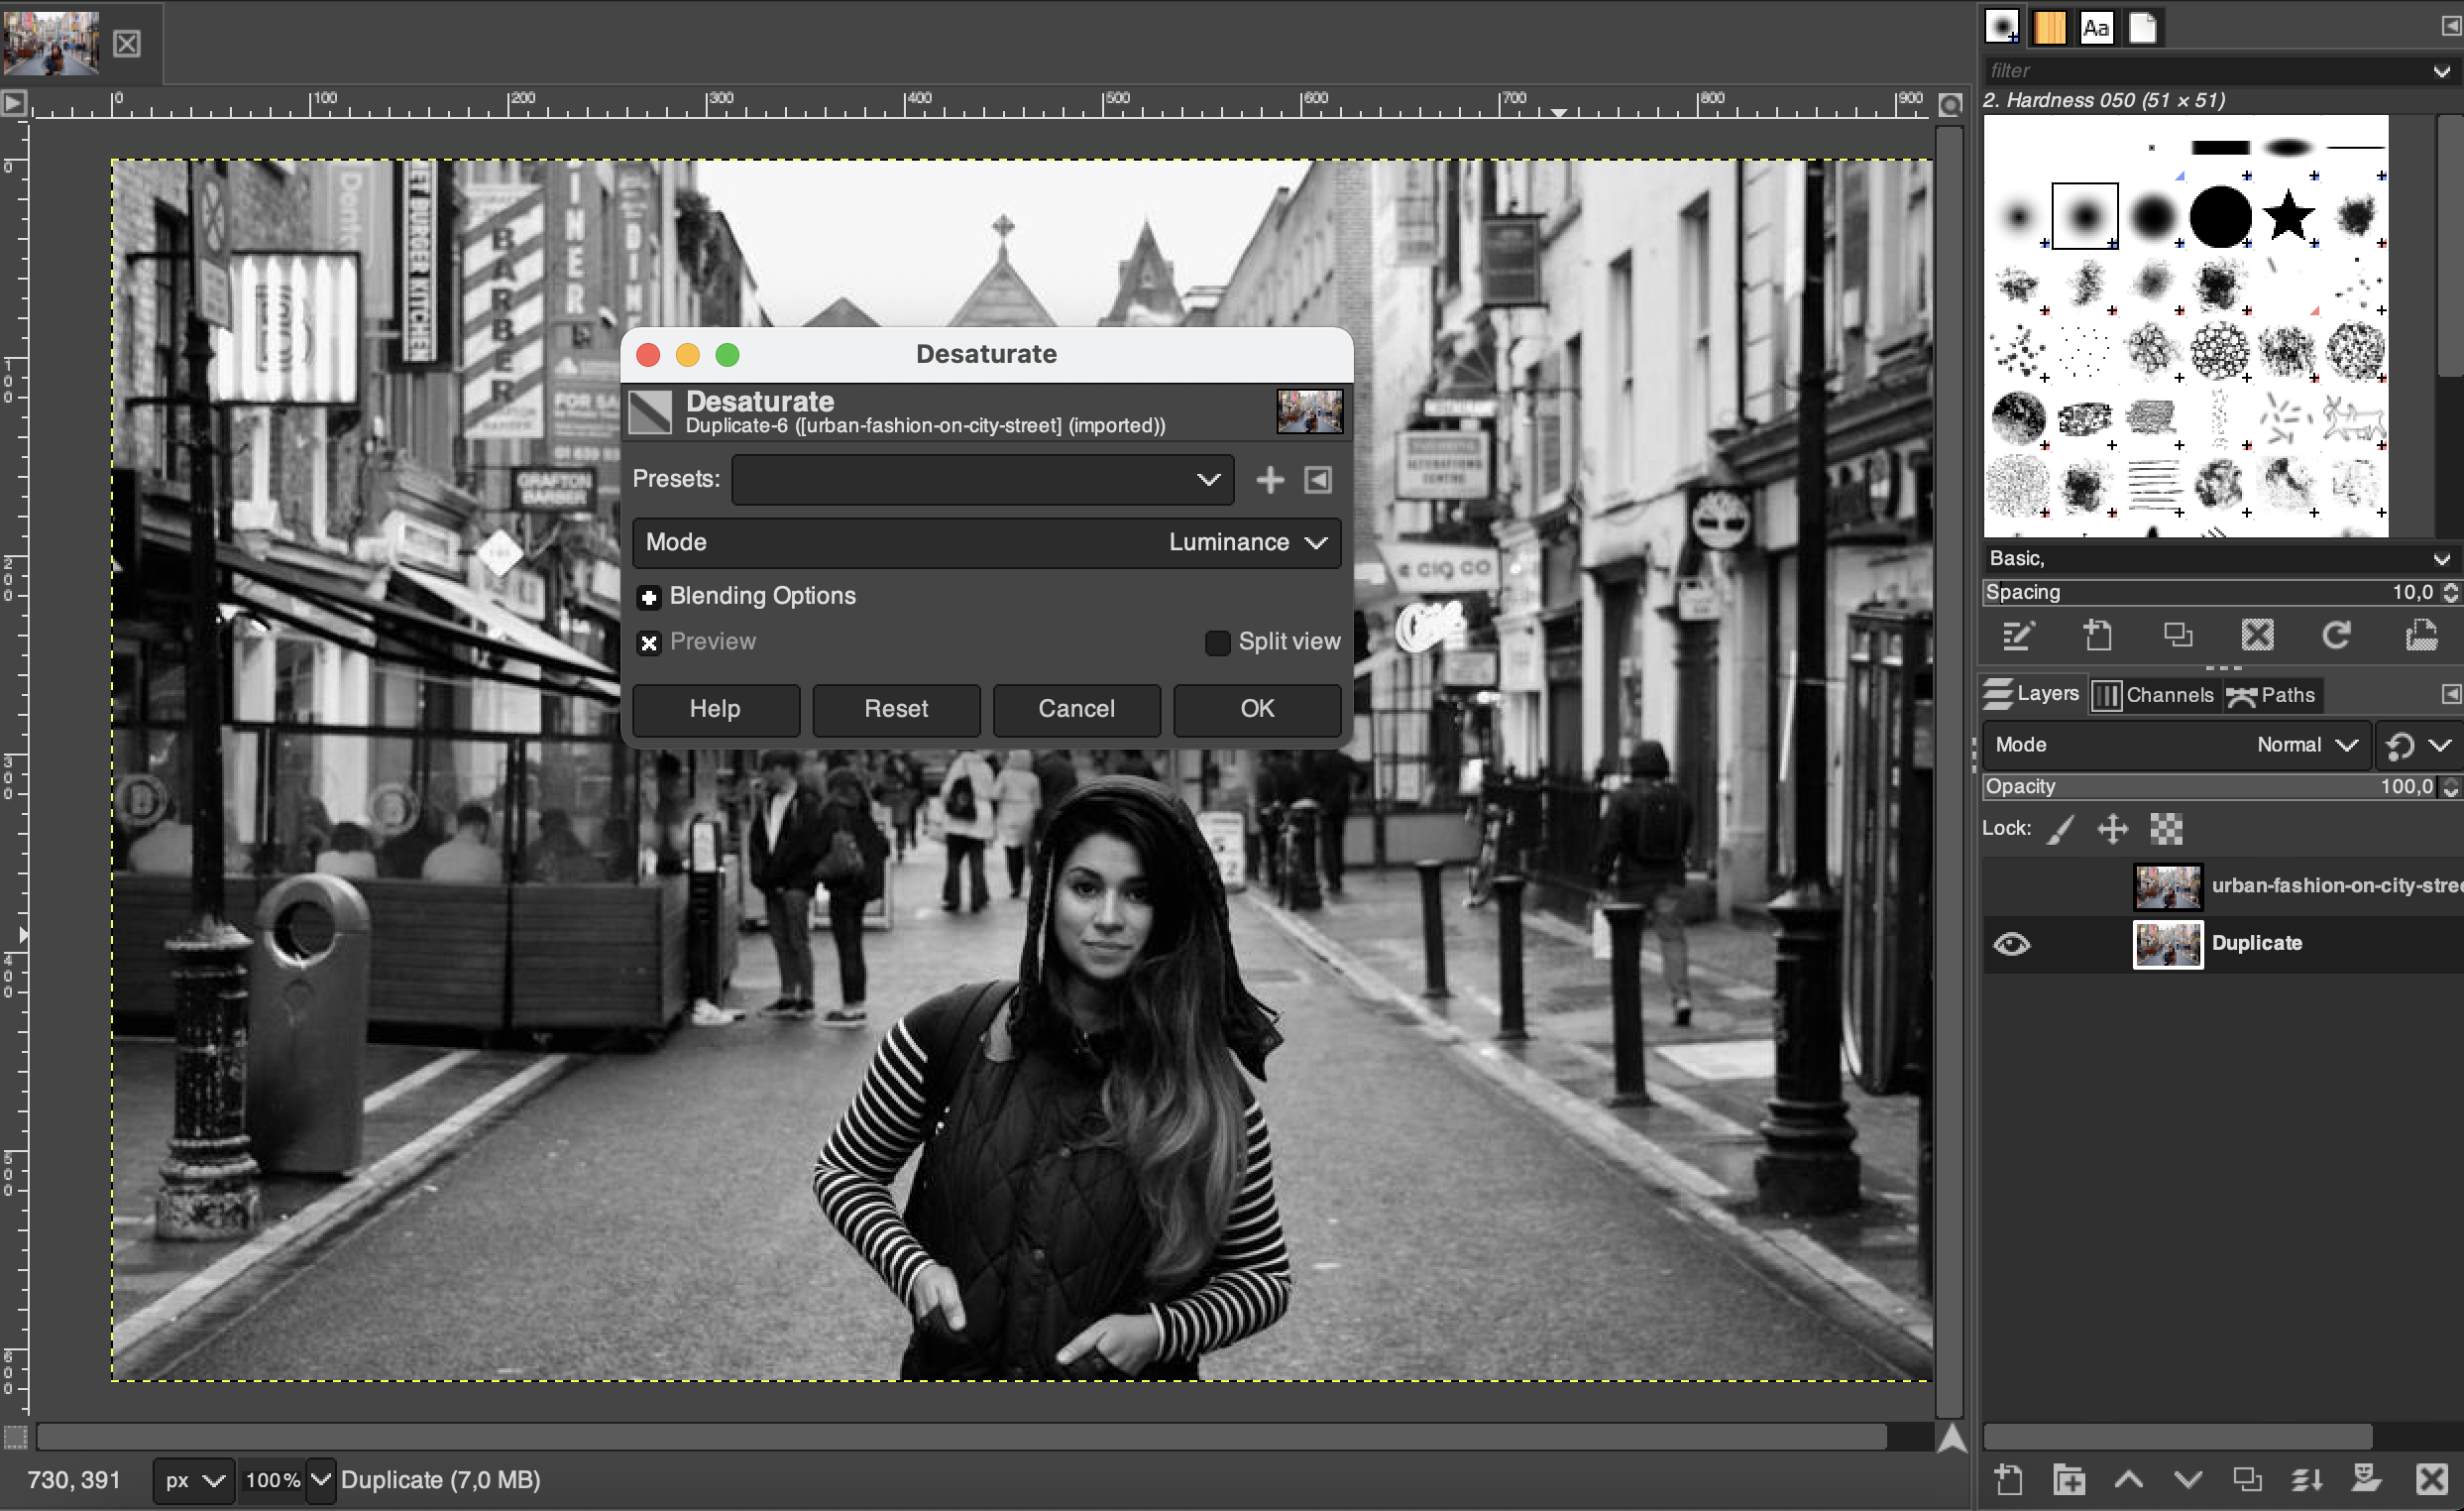
Select the duplicated layer by left clicking on it then select the menu Colors> Desaturate> Desaturate …

You can leave the default mode which is Luminance. You can also adjust the settings of this mode if you think that the rendering is better, this will have an effect on the gray levels and the final rendering but not on the steps which will follow. Then click on OK to validate when you’re done.
Do not hesitate also to deactivate the display of the other layer by activating or deactivating the eye which is next to this last during your modifications as in the following image:
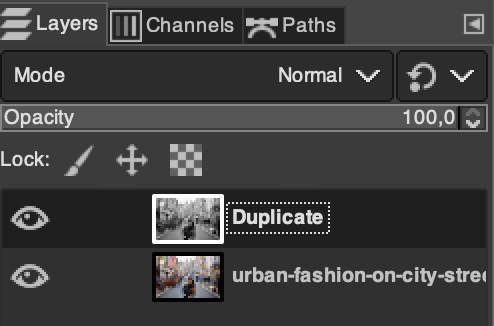
Modify the order of the layers by putting your Black and White layer first while making sure that the 2 layers are visible (“Eye” activated for the 2 layers).
Step 5: Add a layer mask
We are now going to add a layer mask to the “Black & White” layer. The principle of this mask will be to indicate to the software which parts of the Black & White image we want to “Erase”. This layer being in the foreground, this erasing will therefore make the layer appear in the background which contains colors.
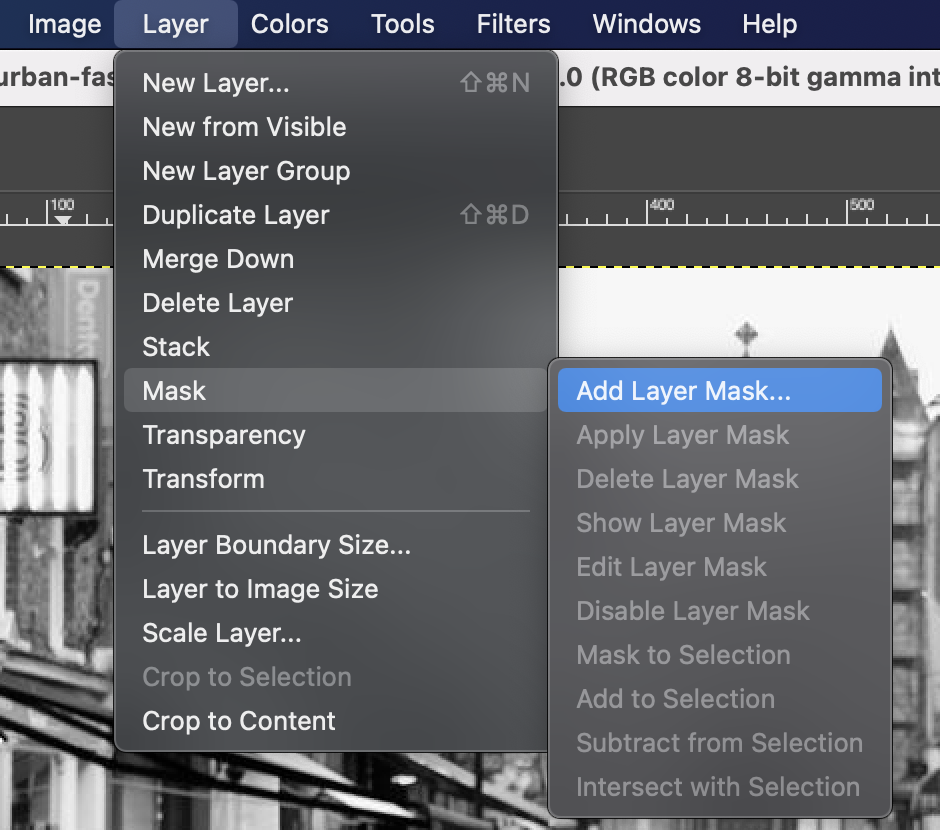
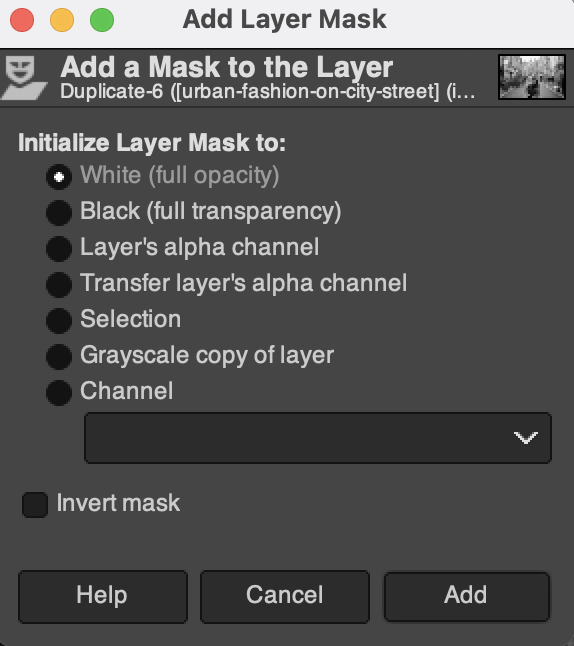
Click on the menu Layer> Mask> Add Layer Mask… :
Select White (full opacity) and then click Add:
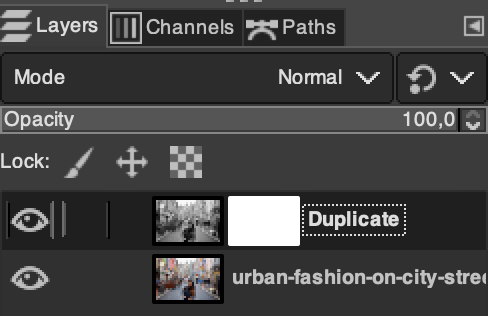
The mask is now visible in the list of layers as a white rectangle:
Step 6: Coloring
We have everything prepared, now we are going to “color the white mask in black” to make the colored background appear and thus bring out the colors.
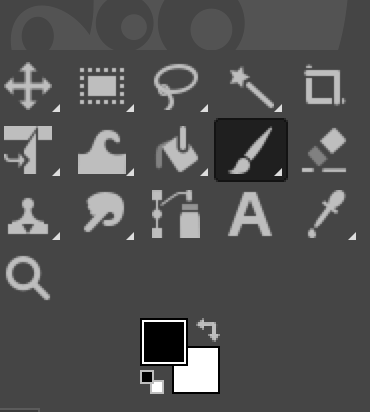
Choose the brush tool from the tool palette on the left of the software and choose the color Black. This is important for the layer to have its effect.
You can adjust the brush size according to the level of precision you want. Make sure you have selected the Black & White layer with the mask and start coloring the area you want color to appear for.
Feel free to play with the zoom and fine brush sizes to be more precise!
Make a first coloring pass in the area of the image you want to work on to reveal the colors. Then deactivate the display of the background layer by clicking on the associated eye in the list of layers, so you can see where you are with your coloring.
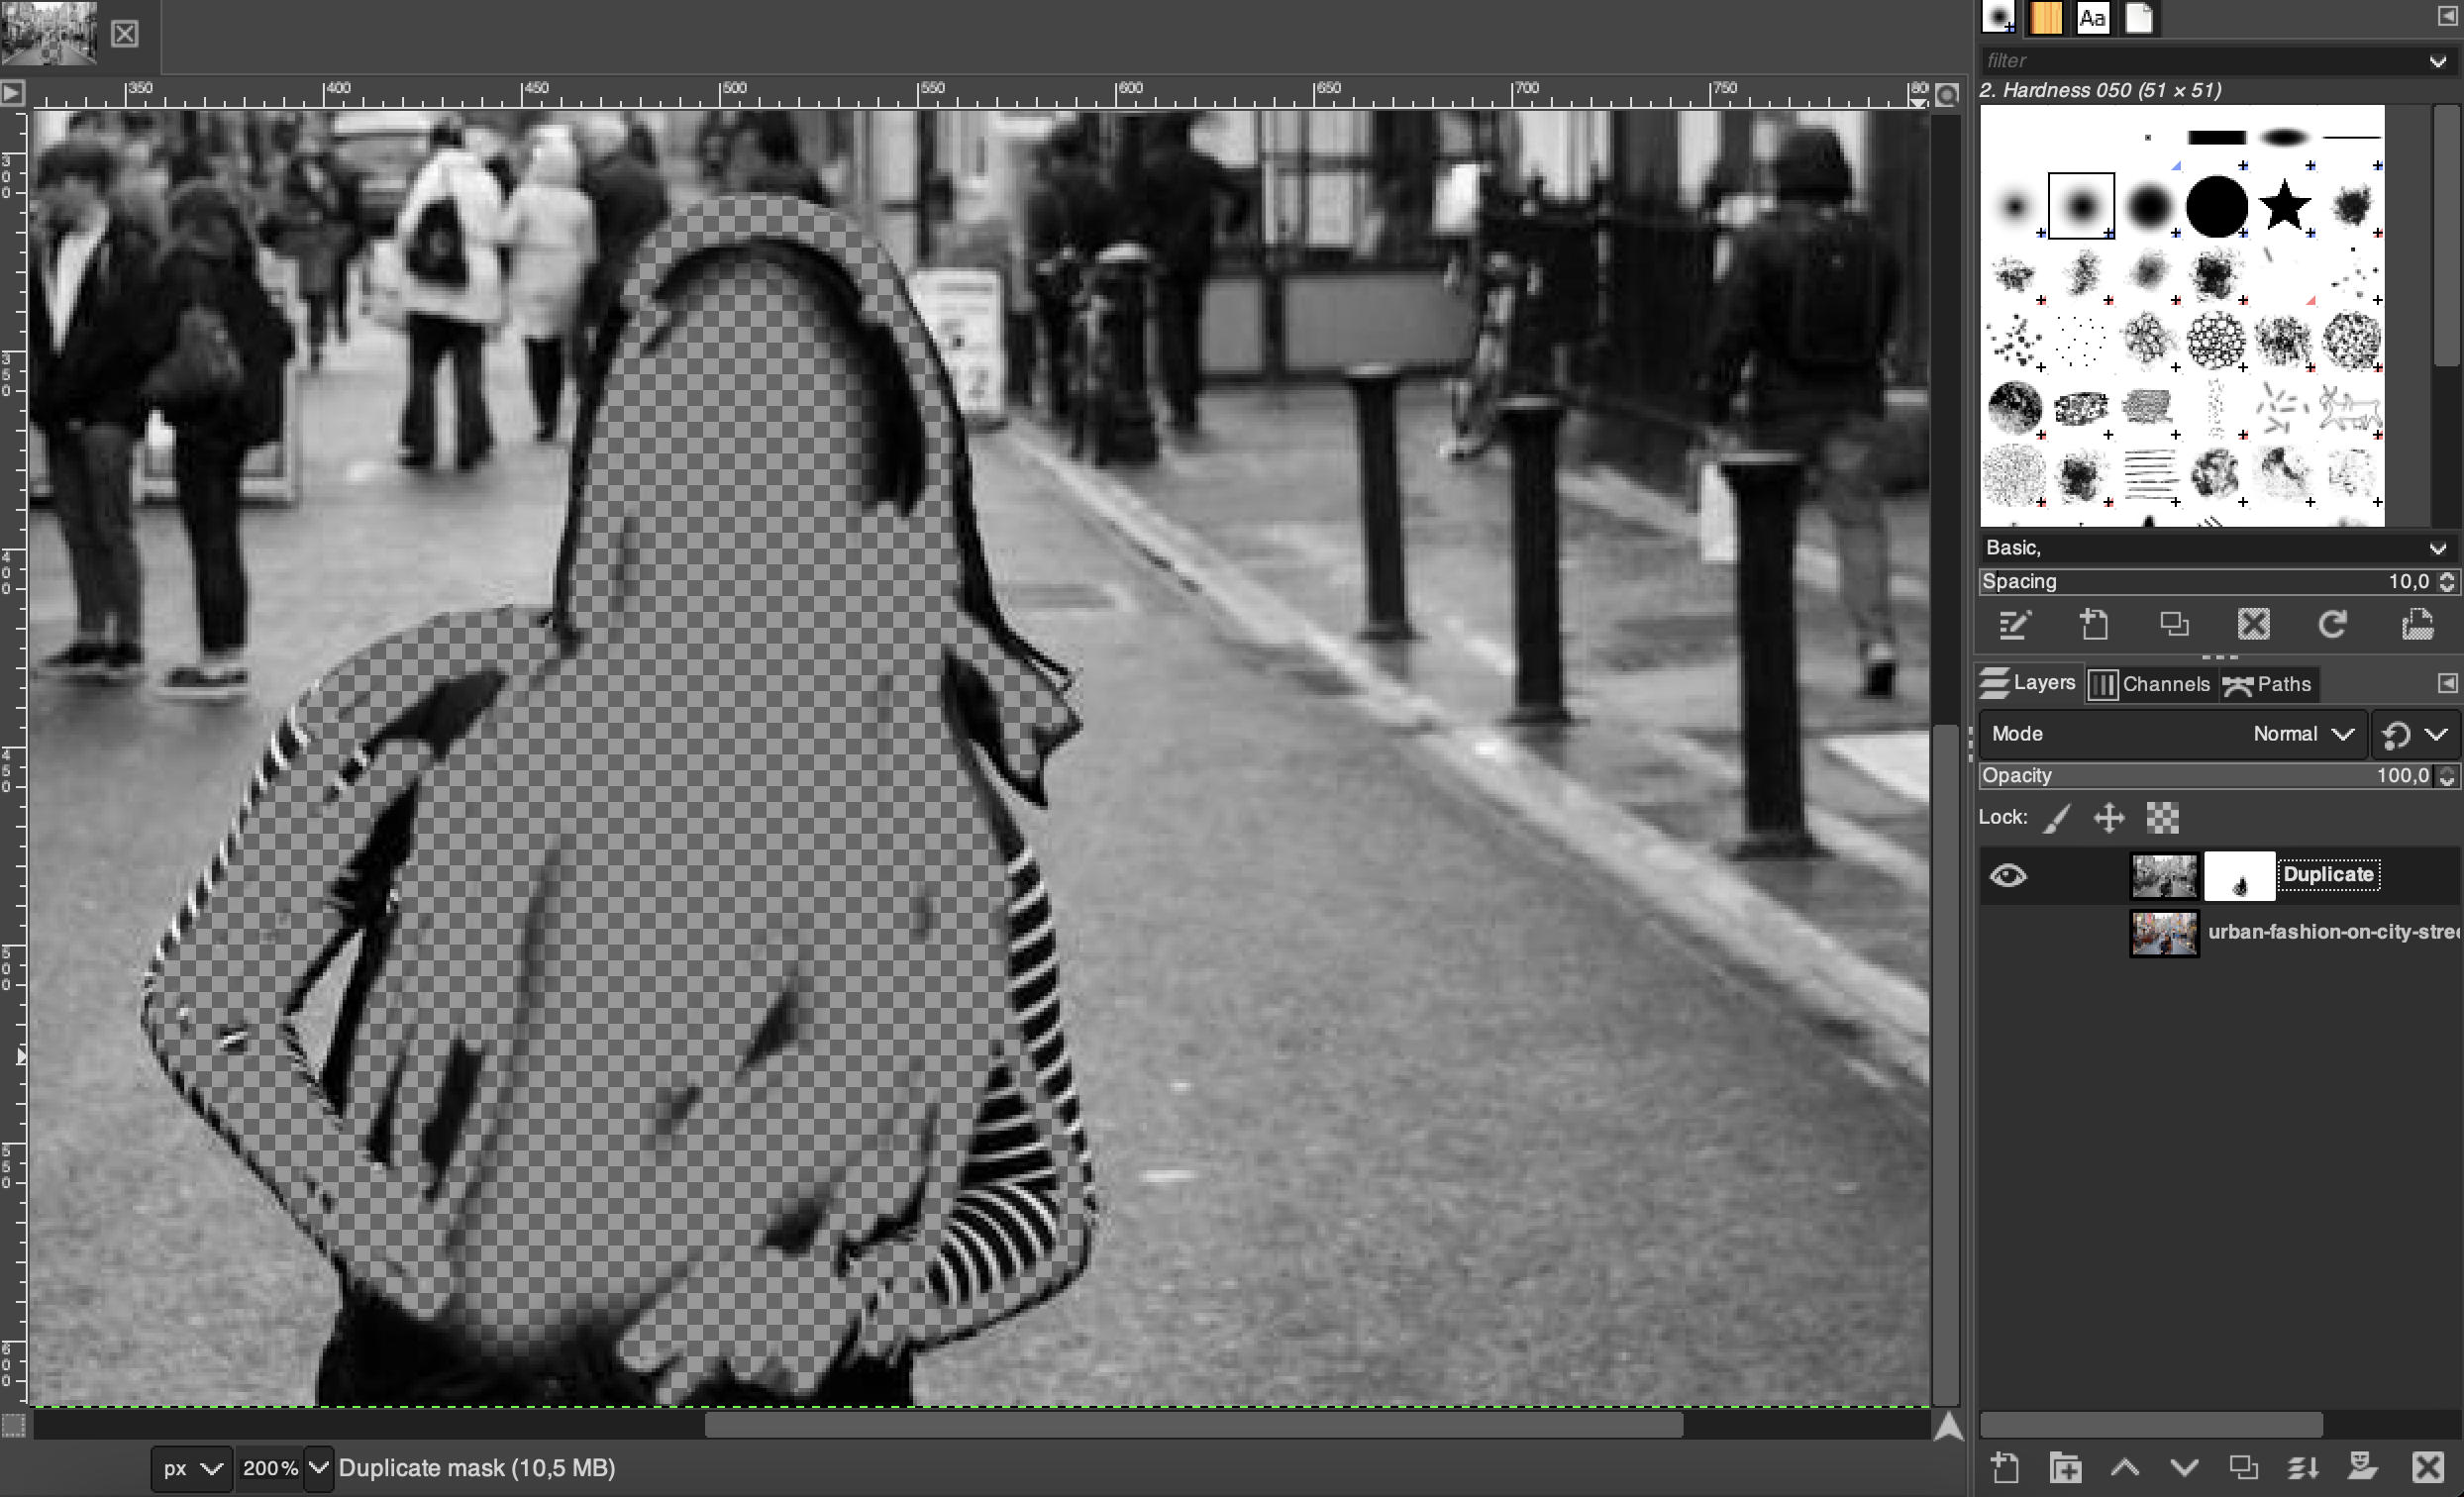
You are free not to color entirely if you are already satisfied with the result, but if you want to color everything, this mode will allow you to see what you have to do and finish the job:
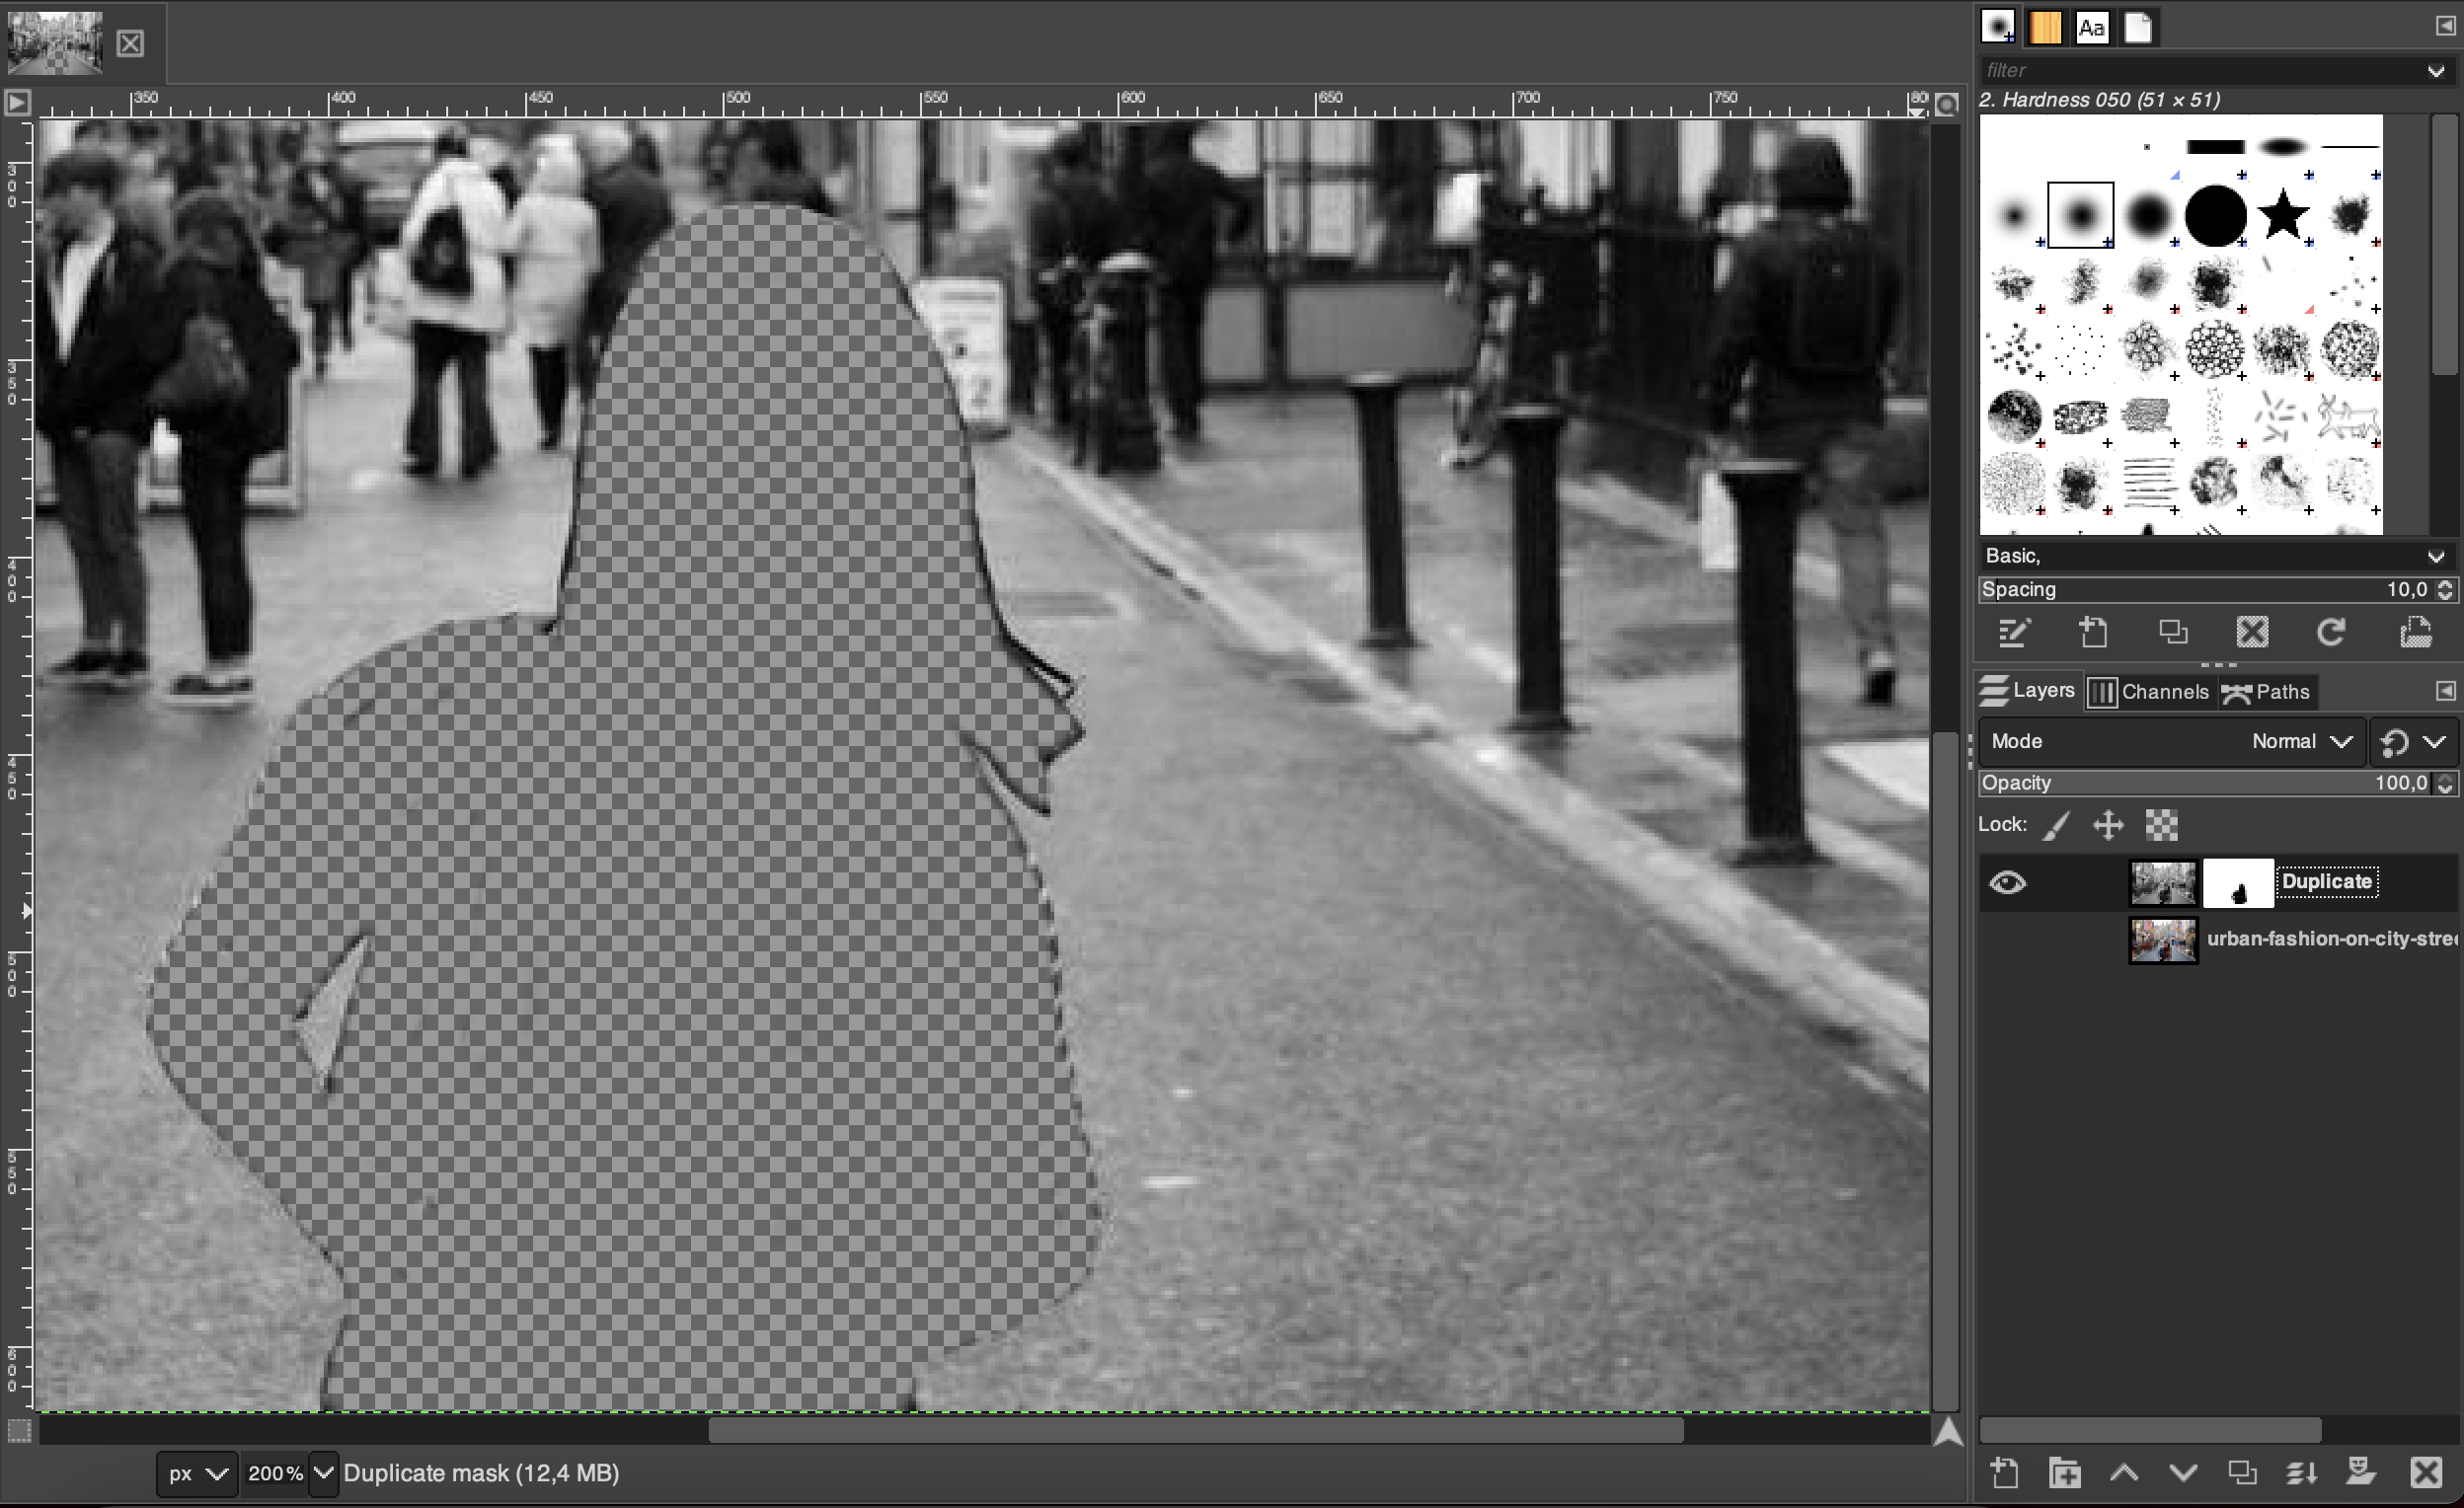
If you ever “erase too many elements”, just redo a coat of white brush to correct.
You can now reactivate the background layer to see the final rendering:
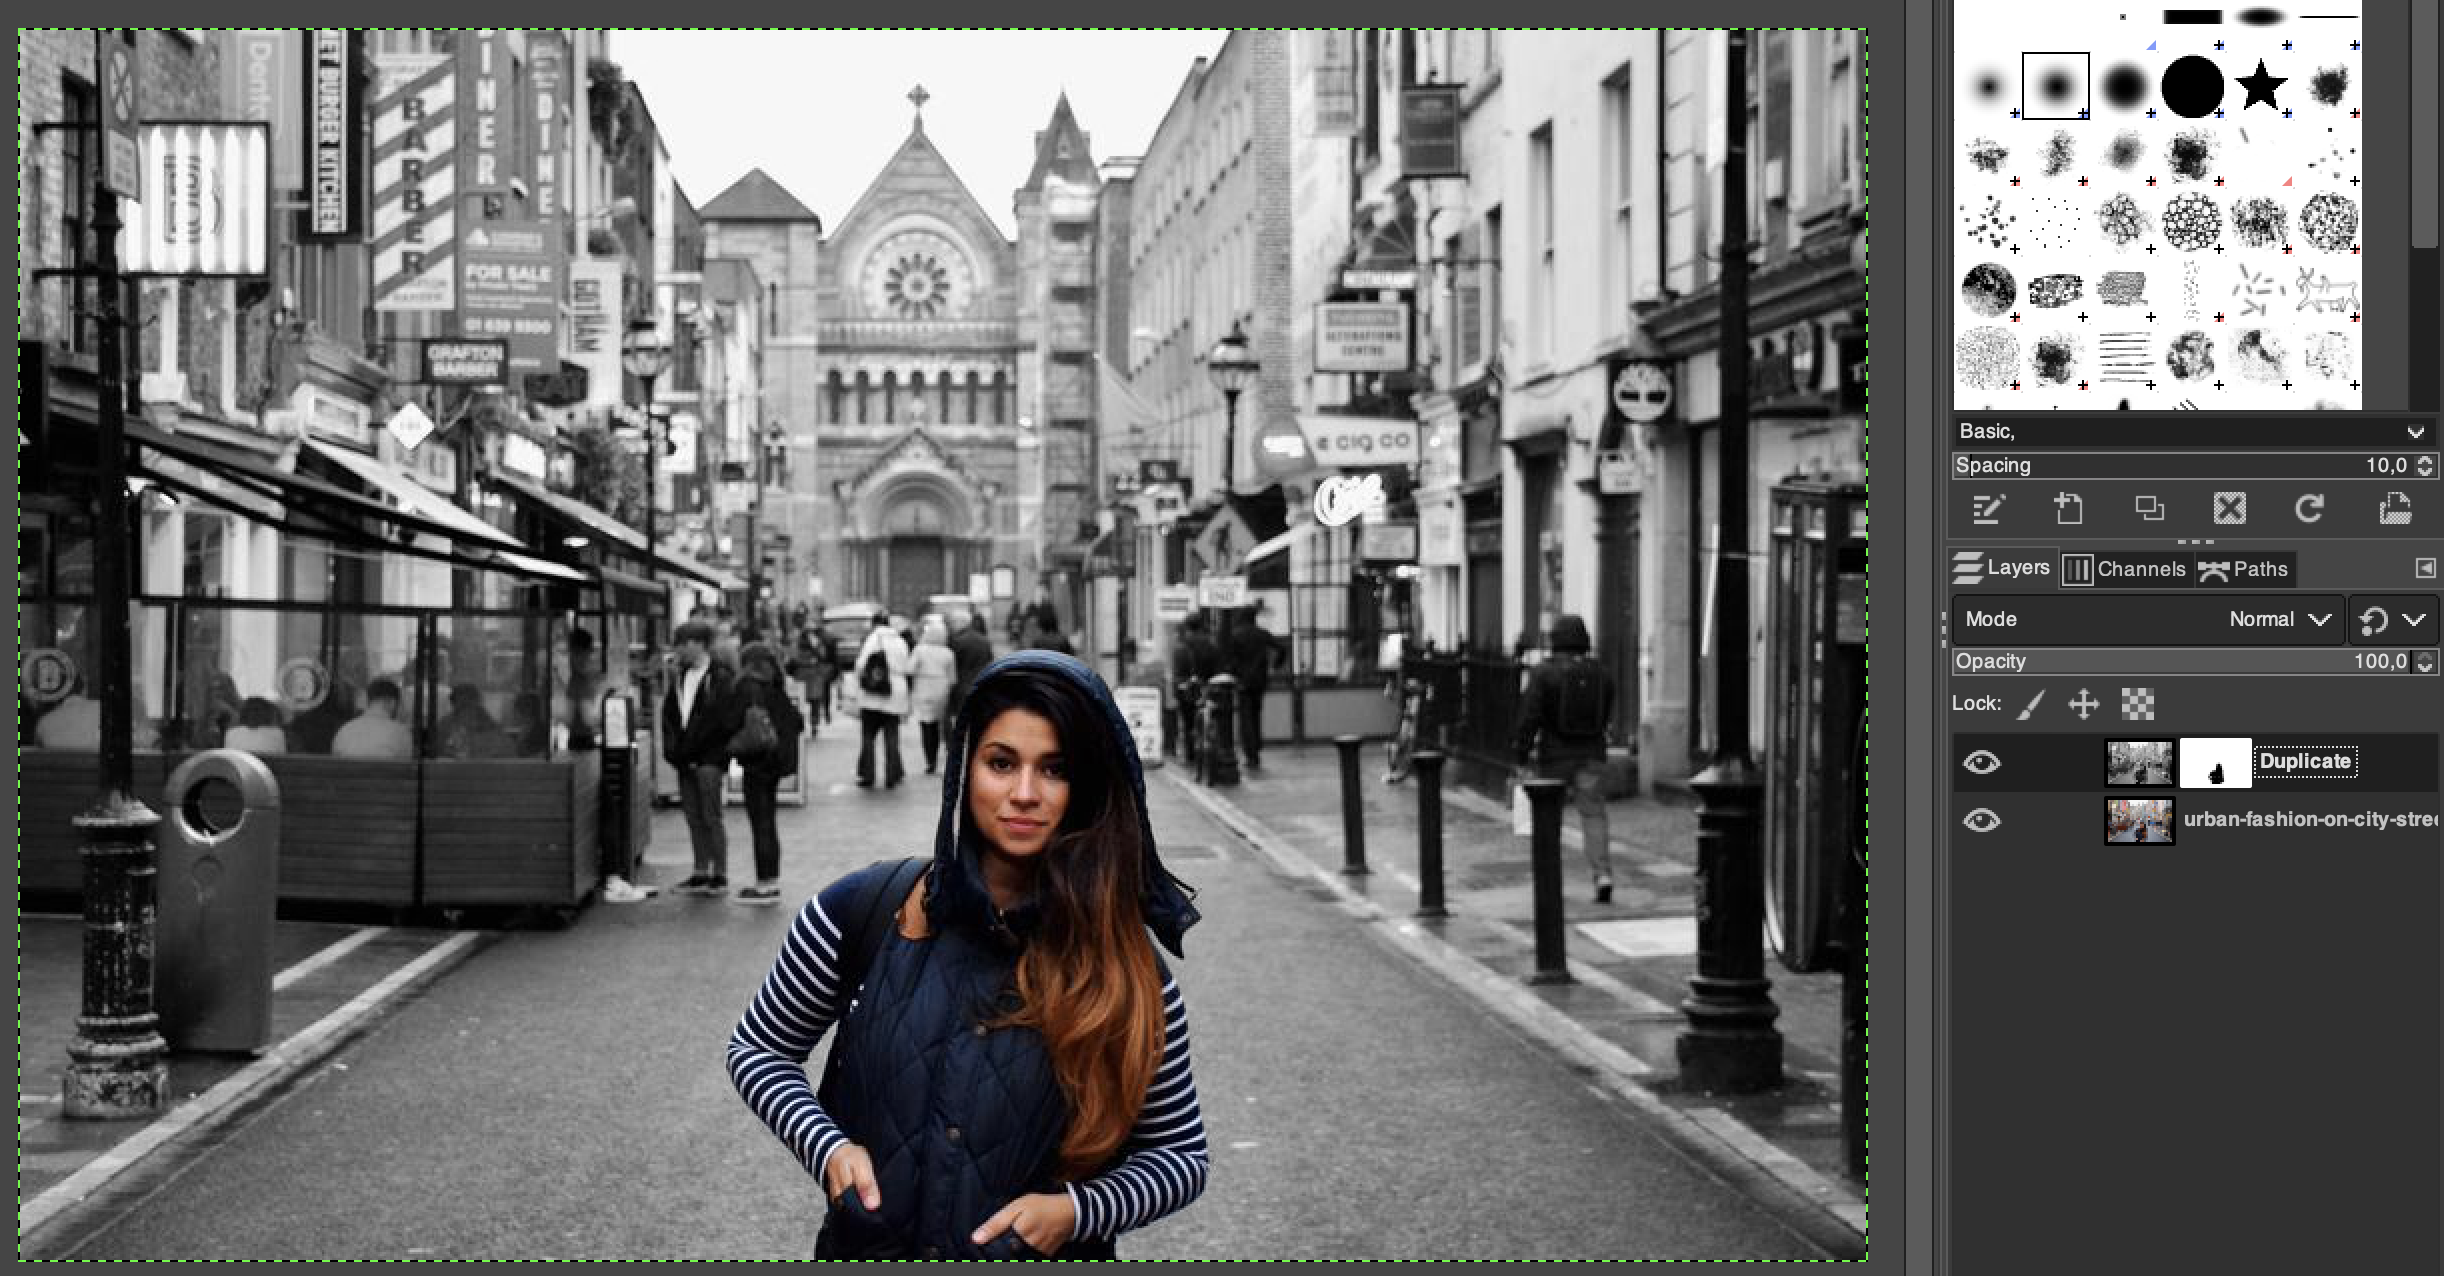
All you have to do is save your work and export your edited photo.
You can also continue your retouching work by combining with other approaches and in particular by:
- correcting the brightness of your “color” layer
- by creating a blur effect (bokkeh) of your “Black & White” layer